Weve been independently researching and testing products for over 120 years. If you buy through our links, we may earn a commission. Learn more about our review process.
For most of us, coffee is more than a tasty beverage — its an essential part of our morning routine. Refilling the water reservoir and popping a fresh pod into the Keurig and brewing the perfect cup of joe sets the tone for the rest of your day. But, what happens when your coffee stops tasting fresh? Without regular cleaning and maintenance, your single-serve coffee maker may stop working — or worse, grow mold or bacteria that drastically affects the taste of your brew.
Its important to learn how to clean and descale your Keurig on a regular schedule, just as you would your other home appliances like the microwave or dishwasher. “Coffee oils and hard water minerals can build up inside,” says Carolyn Forté, executive director of the Good Housekeeping Institute Home Care & Cleaning Lab. “Not only can build-up impact the taste of your coffee, but if left unchecked, the minerals can clog the machine to the point where it can stop working.”
With the help of Forté, were providing step-by-step instructions for cleaning your Keurig — whether youve got a , or another of the brands popular models.
How to descale your Keurig
To encourage the freshest brew, its important to descale your Keurig every three to six months — three months if you use it daily.
“If you only use it every few days or once per week, you probably only need to descale it every 6 months or so,” advises Forté. Hard water minerals build up in your machine over time, which could affect how well your machine works.
Expert tip: If you descale your Keurig 4x a year, try setting a calendar reminder at the start of each new season — so you never forget.
- Distilled white vinegar or Keurig Descaling Solution
- Remove any water filter and fill the reservoir with either 16 ounces of white vinegar or followed by 16 ounces of water.
- Place a mug on the drip tray and lift the brewer handle as if inserting a K-cup.
- Select the largest cup size and brew a cup as usual into the mug.
- Empty the mug and repeat this process until the ADD WATER indicator is illuminated.
- Let the coffee maker rest for 30 to 45 minutes.
- Empty the reservoir and wash it thoroughly. Fill it to the MAX line with fresh water and perform 12 rinsing brews using the largest cup size to remove any traces of vinegar or descaling solution.
- Re-insert or replace the water filter.
How to regularly clean your Keurig
Whether you use it daily or weekly, how often you use your Keurig impacts how frequently it should be cleaned.
“Its always best to wipe down any splatters from the outside and drip tray every time,” says Forté, who also recommends adding fresh water to the reservoir with every brew. If you use your coffee machine on a daily basis, its best to wash all removable parts once per week.
What youll need:
- Dish soap
- Sponge or cloth
- Dish towel for drying
Instructions:
- Unplug the machine.
- Remove the water reservoir, lid, drip tray and K-cup holder.
- Remove the filter from inside the reservoir and set it aside.
- Hand wash all parts in warm, soapy water.
- Rinse the parts thoroughly and towel dry. Its best to air dry the interior of the water reservoir, so it does not collect any towel lint.
- Wipe down the machines exterior surface with a damp sponge or cloth. Dry with a clean dish towel.
- Replace all the removable parts, re-insert the water filter and plug the machine back in.
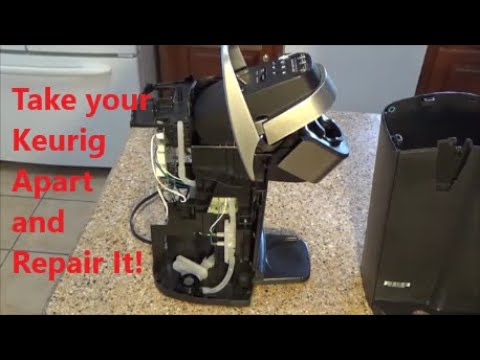
Keurig Elite K90 Disassembly and Theory of Operation
FAQ
Can a Keurig be disassembled?
How do you remove a K-Cup from a Keurig?
If you open the top up as if you were going to insert a k-cup you will find some more screws that need to be removed. There are two on either side of the needle and one on each side of the handle. By removing these screws you will be able to take the handle off your Keurig relatively easily.
How do you take apart a Keurig for cleaning?
To take apart a Keurig for cleaning, start by unplugging it and removing any removable parts such as the water reservoir and drip tray. (19 words) When it comes to cleaning your Keurig, it’s essential to disassemble the machine properly to ensure a thorough clean.
How to reassemble a Keurig?
Clean the screen under running water with a brush. Reassemble after proper cleaning. Next step is to remove the top cover to get to the water supply to the K-cup. Open the Keurig. remove two Phillips screws that hold it in place. Lift the top cover up and forward to remove it.
How do you remove a drip tray from a Keurig?
Locate the drip tray at the base of the Keurig, directly below the brewer. Slide the drip tray towards you until it is fully extended. Lift the drip tray straight up to remove it from the Keurig. Remove the drip tray cover by firmly gripping it and pulling it straight up and away from the brewer.