Cakes, with their delicate textures and intricate designs, are often the centerpiece of celebrations. However, transporting a cake, especially during warm weather or over long distances, can be a daunting task. The fear of melting frosting, smudging decorations, or compromising the cake’s overall integrity looms large. But with the right techniques and precautions, you can ensure your cake arrives at its destination looking as stunning as when it left your kitchen. In this comprehensive guide, we will delve into the art of cake transportation, providing you with a step-by-step plan to keep your cake cold and pristine during your journey.
Step 1: Choosing the Right Frosting
The type of frosting you use plays a crucial role in how well your cake will withstand the rigors of travel. Buttercream, made with butter, sugar, and milk, is a popular choice for its rich flavor and smooth texture. However, it is also more susceptible to melting than other types of frosting. For cakes that need to travel, consider using a frosting with a higher proportion of shortening to butter. Shortening, a type of fat, helps stabilize the frosting and makes it less likely to melt.
Step 2: Chilling the Cake Thoroughly
Before embarking on your journey, ensure your cake is adequately chilled. Place the frosted cake in the refrigerator for at least 2 hours, or even overnight, to allow the frosting to set and firm up. This will help prevent the frosting from melting and sliding off the cake during transport.
Step 3: Packing the Cake Securely
The way you pack your cake is essential to prevent damage and maintain its shape. Use a sturdy cake box that is the appropriate size for your cake. Place the cake on a cake board or plate to provide a stable base. Secure the cake in place with toothpicks or straws inserted around the edges. Fill any empty spaces in the box with crumpled parchment paper or bubble wrap to prevent the cake from shifting during transit.
Step 4: Maintaining a Cool Environment
During transport, it is crucial to maintain a cool environment around your cake. If possible, transport the cake in an air-conditioned vehicle. If air conditioning is not available, consider using a cooler with ice packs to create a chilled environment. Place the cake box in the cooler and surround it with ice packs to keep it cold.
Step 5: Avoiding Direct Sunlight
Direct sunlight can significantly raise the temperature inside your vehicle, causing the cake to melt. When transporting your cake, avoid exposing it to direct sunlight. Keep the cake box in the shade or cover it with a blanket or towel to protect it from the sun’s rays.
Step 6: Minimizing Travel Time
The shorter the travel time, the less likely your cake is to melt. Plan your route efficiently to minimize the time spent in transit. If possible, avoid traveling during the hottest part of the day.
Step 7: Unpacking and Serving
Once you arrive at your destination, unpack the cake carefully. Remove the cake from the box and place it on a serving plate. Allow the cake to come to room temperature for about 30 minutes before serving. This will help the frosting soften slightly, making it easier to cut and serve.
Additional Tips for Transporting Cakes
- Use a cake carrier with a handle for easy transportation.
- Consider using a cake turntable to rotate the cake while frosting, ensuring an even and smooth finish.
- If transporting a multi-tiered cake, assemble the cake at the venue to avoid damage during transport.
- For cakes with delicate decorations, such as fresh flowers or piped designs, consider using a cake dome or box with a clear lid to protect the decorations.
- If transporting a cake for a long distance, consider using dry ice to keep the cake cold. Dry ice can be purchased at most grocery stores.
Transporting a cake can be a daunting task, but with the right techniques and precautions, you can ensure your cake arrives at its destination looking as beautiful as when it left your kitchen. By following the steps outlined in this guide, you can keep your cake cold and pristine during your journey, allowing you to share your culinary creation with friends and family without any worries. Remember, the key to successful cake transportation lies in proper preparation, careful packing, and maintaining a cool environment. With a little planning and care, you can transport your cake with confidence, knowing that it will arrive in perfect condition, ready to be enjoyed by all.
Check the Frosting
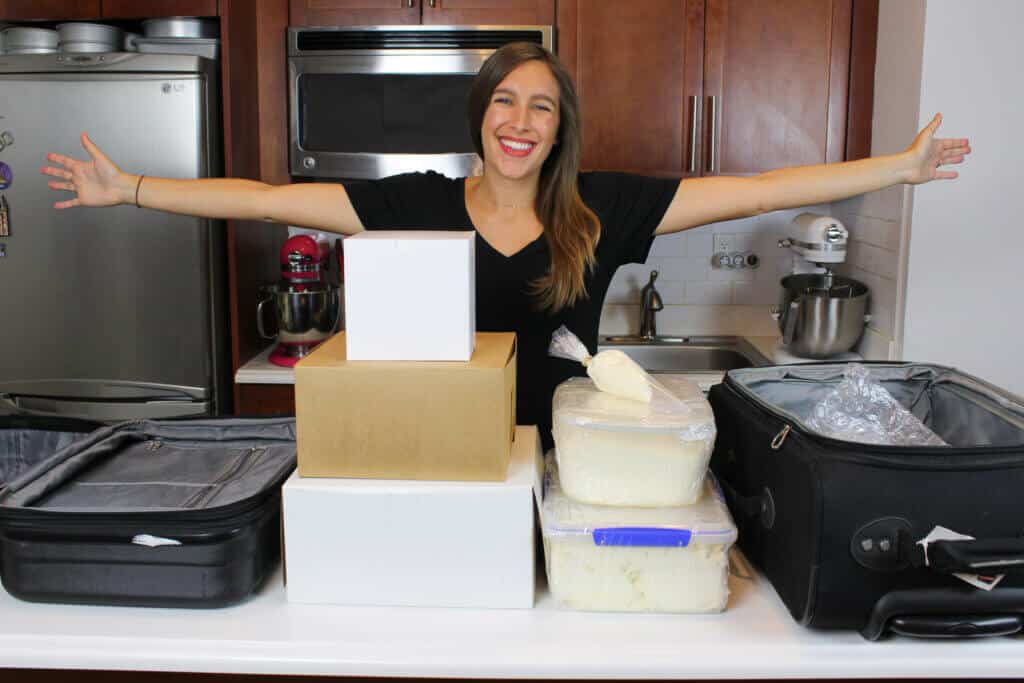
My cake layers were with me, so I had to check a suitcase containing the frosting. Before the flight, I put the buttercream tubs in the freezer and wrapped them in bubble wrap inside my checked bag.
Even with that, my bag must have really gotten thrownaround. When I opened my bag in Chicago, I discovered a large crack in the side of my smaller Tupperware container.
Fortunately, because it was still frozen, the frosting stayed inside the container and had no effect at all. Large frosting tubs take ages to thaw, which was advantageous to me this time.
Realizing I ShouldMake the Cake Layers and Frosting Ahead of Time
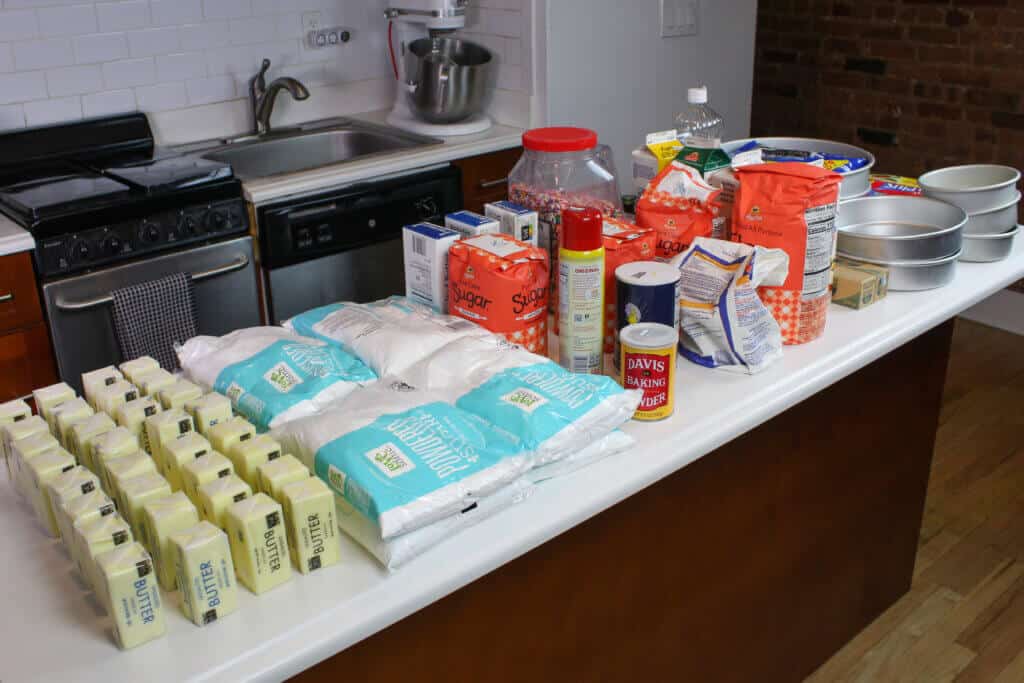
Although that was a great comfort, I started to consider how challenging it would be to find all the ingredients in a new city.
I started creating an Excel spread sheet with all the ingredients and amounts I needed just to be safe. It took work to list all the ingredients because there were so many of them.

There has to be a simpler way to accomplish this, I thought to myself as I worked through this list. I would spend at least eighteen hours in her aunt’s house if I completed the cake.
She had a KitchenAid, but I was used to using my commercial KitchenAid to make huge batches of cake batter and frosting. Trying to make all the batter and buttercream in a 5 qt mixer would take a lot longer.
At that point, I gradually began to consider the idea of preparing the cake and frosting in my own kitchen and bringing them to Chicago.
I had never traveling with cake like this before. My friend Courtney of Cake by Courtney travels with cake layers and frosting all the time, for TV segments, conferences, and classes.
This gave me more faith in the concept and gave me the impression that I could actually pull it off. Amazingly, with a great deal of careful planning and preparation, my plan turned out to be a success.
Since I frequently prepare cake layers ahead of time, I wasn’t concerned about wrapping and freezing my cake layers. For weeks, the cake layers will remain fresh in the freezer if you double wrap them in plastic wrap, foil, or a Ziploc bag.
After all of my cake layers had baked and cooled, I wrapped them and positioned a cardboard cake round underneath each layer. This increases stability when they’re stacked on top of one another and aids in their freezing flat.
It’s not very big, so I have to stack my cake layers to fit them in my freezer. Manhattan appliances never seem to be large enough
The night before my flight, I frozen the cake layers, and about 15 minutes before takeoff, I took them out to pack. To my husband’s dismay, I made an effort to put them out at the last minute.
To transport the frozen cake layers, I placed them into a box the same size as the cake layers, and carefully placed them into my carry-on suitcase. I was able to fit the 9-inch and 6-inch cake boxes into a standard sized carry one, and added bubble wrap around the boxes to keep them in place and protected.

How to Transport a Cake 2000 Miles by Car and Airplane
Should a cake be refrigerated before traveling?
Before traveling, always let your cake chill for a few hours. Keeping the cake in the fridge will help the layers and decorations set. With or without decorations, chilling helps set baked goods and keeps everything in shape. Moreover, it’ll prevent the layers from sliding and ruining the look of your cake.
How do you keep a cake from moving around?
This will prevent your cake from moving around and keep it pristine even over a long-distance ride. Before traveling, always let your cake chill for a few hours. Keeping the cake in the fridge will help the layers and decorations set. With or without decorations, chilling helps set baked goods and keeps everything in shape.
How do you keep a cake cool in a car?
Keep temperature inside and outside the car in mind. Cakes should be kept cool to prevent melting. If it’s a hot day outside, the air conditioning may not reach the trunk, so it might be safer to place the cake on the floor of the car to keep it cool.
How to transport a cake on a long road trip?
The temperature and storage of your cake are crucial when planning for a long road trip to transport it. Place a silicone baking mat a little larger than the cake underneath the base to stop it from sliding when the car is in motion. Then, prepare the cake and keep it in the fridge overnight, with suitable packaging.
