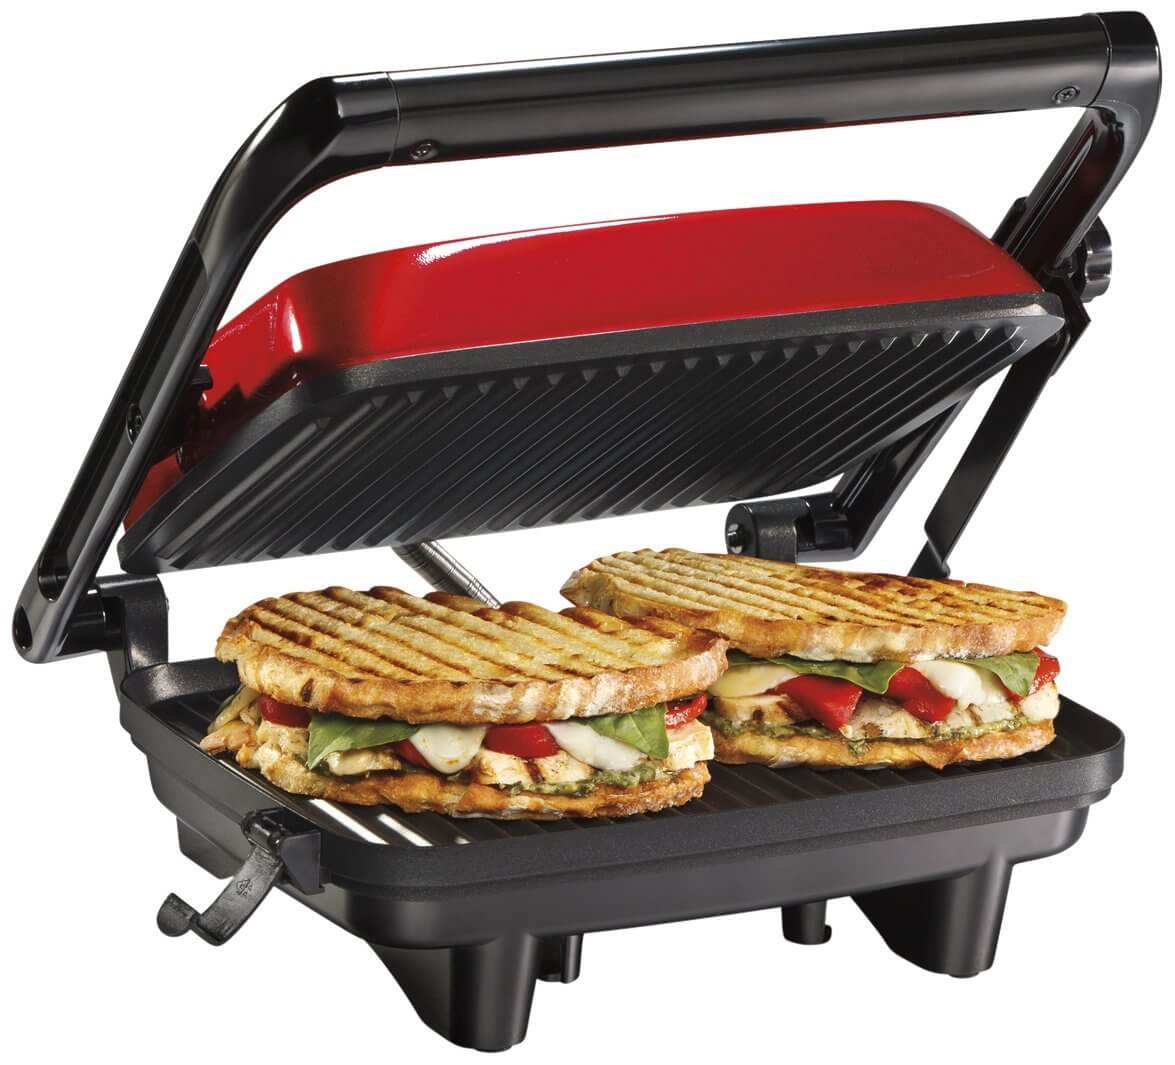
Panini sandwiches are one of those foods that look and sound fancy and complicated to make, but they’re really one of the easiest snacks or means you can make in your kitchen. If you know how to make a grilled cheese sandwich, you are ready to up your game and start feasting on paninis. All you need is to know how to use a panini press.
In this article, I will go over the steps you need to take to use your panini maker. Trust me; it’s ridiculously easy. Plus, at the end, I will leave you some suggestions so you can let your creativity run free and make even more things with your panini press.
Sandwich items: Bread, sandwich meat, cheese, toppings… have it all handy to build your sandwich once your panini press is hot and ready! Panini press: The crucial element to making a grilled sandwich is the panini press, of course!

Step 3: Let Preheat
You should then close the lid of your panini press and allow the cooking plates to heat. This will make your bread crispy, which will contrast well with the warm and soft fillings.
Most modern panini presses come with a built-in indicator light that turns green when the plates are hot enough.
If yours doesn’t have this indicator light, that is okay. The griddles should take between five and seven minutes to heat. You can also splash a few drops of water on the plates; if it quickly turns to steam, you know they’re hot and you can start cooking.
Step 4: Assemble Your Panini
Now comes the fun part: assembling your panini. Take advantage of the time it takes for your panini maker to heat to start gathering all the ingredients and putting them together.
First, pick your favorite sandwich bread. Then, pick your protein, veggies, and seasoning or sauce. The options here really are endless. If you can think of a flavor combination, you can try it (and I bet it will be delicious). Just remember to put any wet ingredients (tomato, for example) in the middle layers of the sandwich so the moisture doesn’t drown the bread.
For instance, you could try two slices of sourdough bread with two chunks of chicken breast, tomato slices, and fat slices of fresh mozzarella cheese. If you want to make this sandwich even better, a dollop of pesto will go delicious in it too. Grilled cheese and chicken panini, anyone?
How to Use the Breville Panini Press BSG520XL
FAQ
Can you use a panini press as a sandwich maker?
Is a panini press the same as a sandwich press?
Can you toast sandwiches in a panini press?
Can you use sandwich bread in a panini press?
Can a mini sandwich press make Panini?
It gives your sandwiches the traditional grill marks and has deep sides that also make it great for grilling steak and chicken right on your stovetop. When you’re cooking big cuts of meat, the press helps reduce splatter, which is a nice bonus. Sure, this mini sandwich press might not be able to make picture-perfect panini.
Can you use a panini press to grill a sandwich?
You can use panini presses for grilling and toasting all kinds of sandwiches — whether you want to call your sandwiches paninis or not. There are models that give your toasty sandwiches those traditional grill lines, and others that create a more even golden-brown layer or crimp the edges to make a sealed sandwich with a filling.
Are panini sandwiches easy to make?
Panini sandwiches are one of those foods that look and sound fancy and complicated to make, but they’re really one of the easiest snacks or means you can make in your kitchen. If you know how to make a grilled cheese sandwich, you are ready to up your game and start feasting on paninis. All you need is to know how to use a panini press.
What can you do with a panini press?
From dinner to dessert, on busy weeknights or when it’s too cold to grill outdoors, here are ten more uses for a panini press: • 1. Vegetables: Use the panini press as a mini grill to make sweet, smoky asparagus, eggplant, sweet potato slices, kale — you name it.
