In the realm of baking, the term “scalding” often arises, particularly in recipes handed down through generations or those rooted in traditional techniques. Scalding milk, a process that involves heating milk to a specific temperature just below boiling, plays a crucial role in enhancing the outcome of various baked goods. This comprehensive guide delves into the intricacies of scalding milk, exploring its purpose, benefits, and the proper technique to achieve the desired results.
Understanding the Essence of Scalding Milk
Scalding milk is not merely a relic of the past; it serves several important functions in baking:
-
Enhancing Yeast Activity: Scalding milk weakens the whey proteins in milk, which can hinder yeast activity. By reducing the whey’s strength, scalding creates a more favorable environment for yeast to thrive, resulting in a more pronounced rise in bread doughs.
-
Infusing Flavors: Scalding milk provides an opportunity to infuse it with additional flavors. Adding ingredients like lemon zest, vanilla beans, herbs, or spices during the scalding process allows their flavors to permeate the milk, enriching the final product.
-
Dissolving Ingredients: In some cake recipes, scalding milk aids in dissolving sugar and melting butter more efficiently, ensuring a smooth and well-blended batter.
Mastering the Technique of Scalding Milk
Achieving perfectly scalded milk requires careful attention to temperature and technique:
-
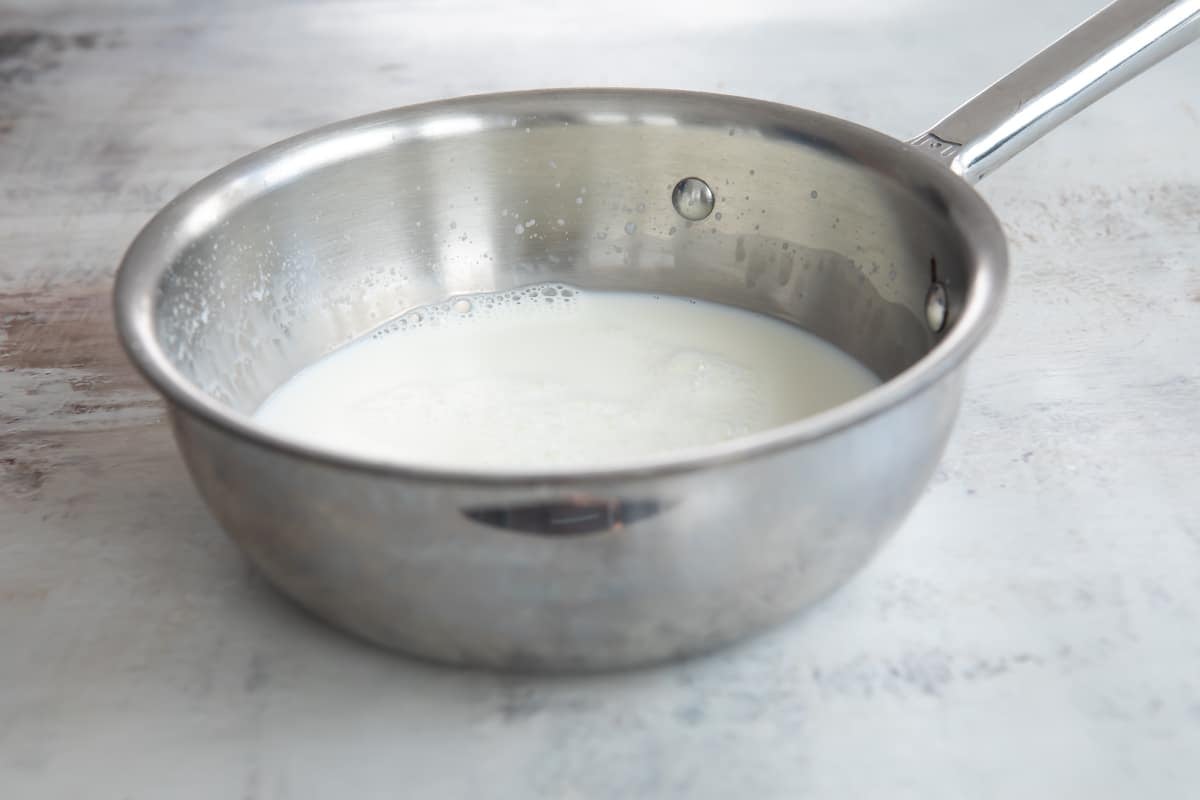
Choosing the Right Pan: Opt for a wide, shallow, and heavy-bottomed saucepan to provide ample surface area for even heating and prevent scorching.
-
Heating the Milk: Pour cold milk into the saucepan and place it over medium heat. Stir the milk frequently to prevent hot spots and ensure uniform heating.
-
Observing the Bubbles: As the milk heats, keep a watchful eye for small bubbles forming around the edges of the saucepan. This indicates that the milk is close to scalding.
-
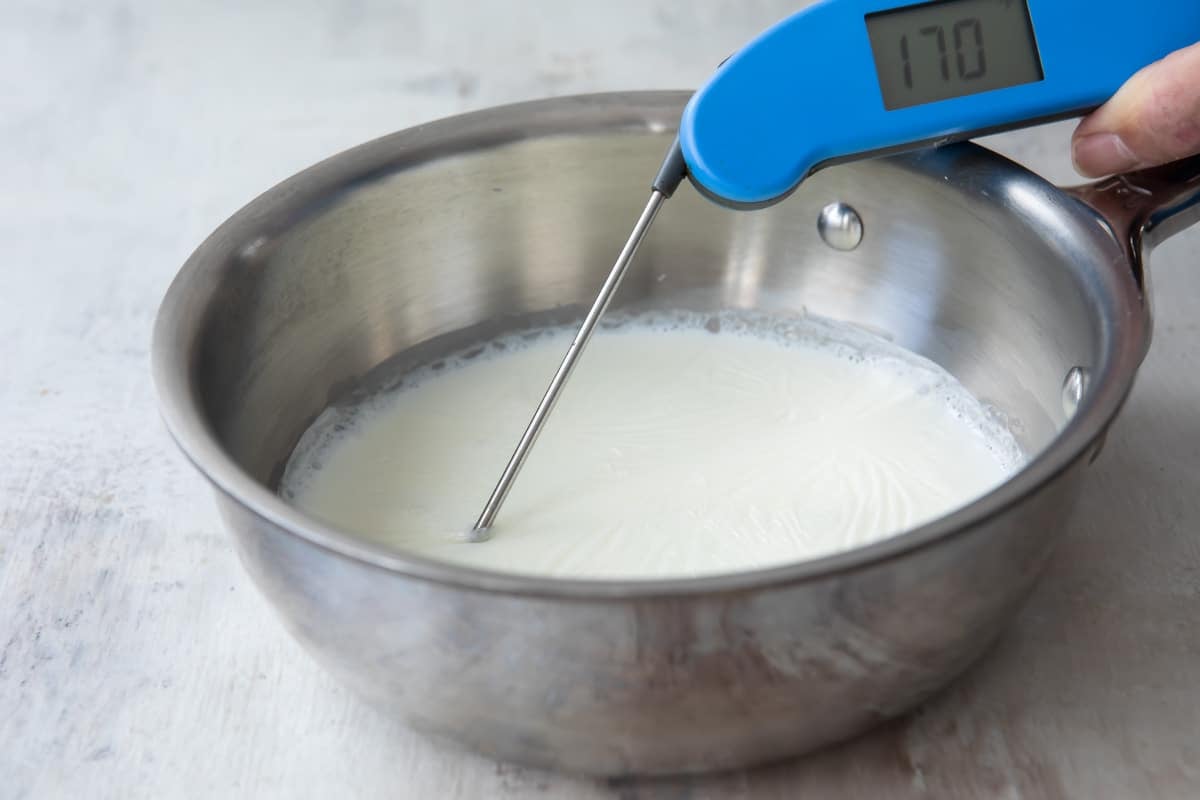
Measuring the Temperature: If you have a kitchen thermometer, use it to measure the temperature of the milk. The ideal scalding temperature is between 180°F (82°C) and 185°F (85°C).
-
Cooling the Milk: Once the milk reaches the desired temperature, remove it from the heat and let it cool for about 10 minutes. This step is crucial to prevent the scalded milk from killing the yeast in bread recipes.
Scalding milk is a fundamental technique in baking, contributing to the success of various recipes. By understanding its purpose and mastering the proper technique, you can harness the benefits of scalded milk to elevate your baked goods to new heights. Remember, the key lies in careful temperature control and attention to detail, ensuring that your scalded milk is not only safe but also enhances the flavor and texture of your culinary creations.
Equipment and ingredient notes
- Scalding temperature: Milk scalds at 170 degrees Fahrenheit.
- Before using, let the scalded milk cool because yeast will perish at a temperature of 138 degrees Fahrenheit.
- To ensure that the milk heats through evenly without burning, use a heavy-bottomed saucepan or a sturdy stainless steel pot. Cook the milk on the stovetop over medium heat, keeping an eye out for tiny bubbles rising from the pan’s bottom.

- It is not desirable for the milk to boil (212 9 degrees Fahrenheit), but the milk should be thoroughly heated. The pan will be cooked to the proper temperature when a skin of congealed proteins forms on the top and sides. You’ll also see wisps of steam. Use a trustworthy thermometer to confirm the temperature (milk scalds at 170 degrees) just to be extra cautious. Before using in a recipe, let it cool to about 110 degrees (yeast dies at 138 degrees F).

How to Scald Milk
FAQ
What is a substitute for scalded milk?
Is scalded milk the same as boiled milk?
Does scalded milk taste different?
