An easy 30-minute recipe starting with searing the chicken breasts on the stovetop, then oven-baked to a final temperature of 165° for a great tasting, moist, and tender weeknight dinner.
This is how we cooked for many years. We had a freezer in the garage fridge for meat only. I would take out a couple of chicken breasts, a pork tenderloin, and some steaks, let them thaw in the refrigerator for a few days and work our way through them.
I would get home late from work. But we want a nice dinner on a short timeline. I spend 5-10 minutes of preparation time and usually finish in the oven as Im unwinding, and in 15-20 minutes, dinner was ready.
Variations for our Baked Chicken Thighs Recipe We mentioned above that searing the thighs before baking them will help the skin stay crispy, but if that isn’t important to you and you want to save a bit of time and effort you can definitely just bake the thighs in the sauce without searing them.

How to make this recipe
- Preheat the oven to 375° convection or 400° conventional.
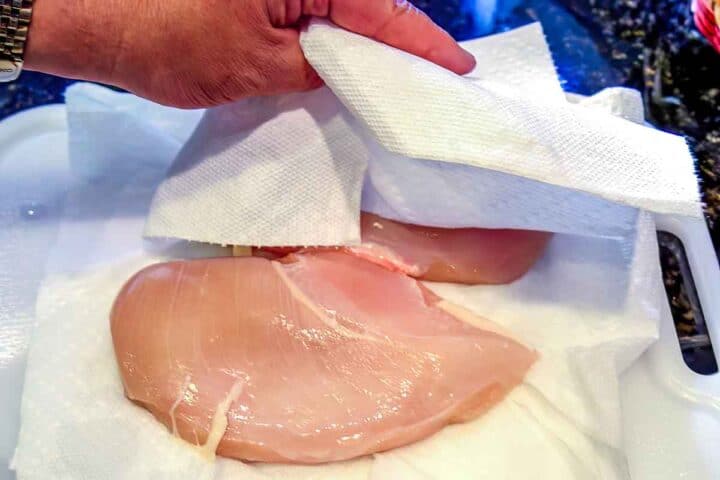
- Trim and pat dry the chicken. If the chicken breast is over ¾ inches thick, flatten it with a meat mallet or the bottom of a heavy pan.
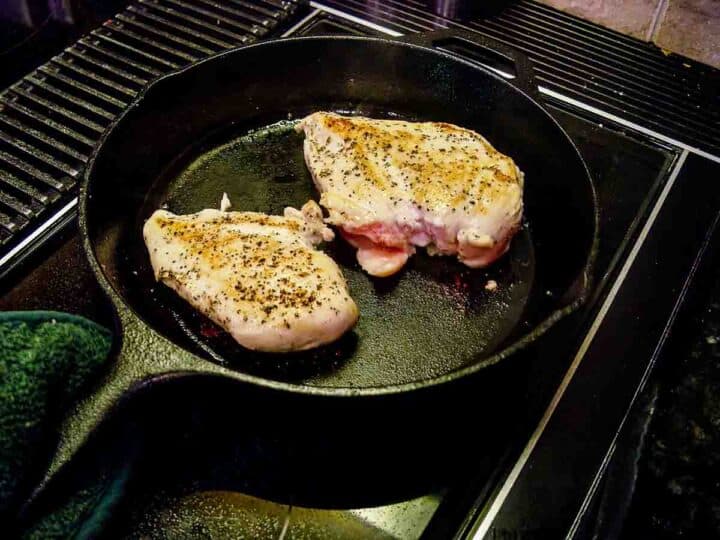
- Heat oil in an oven-safe pan (cast iron preferred) over medium-high heat.
- Sprinkle lightly with salt and pepper or the seasoning of your choice.
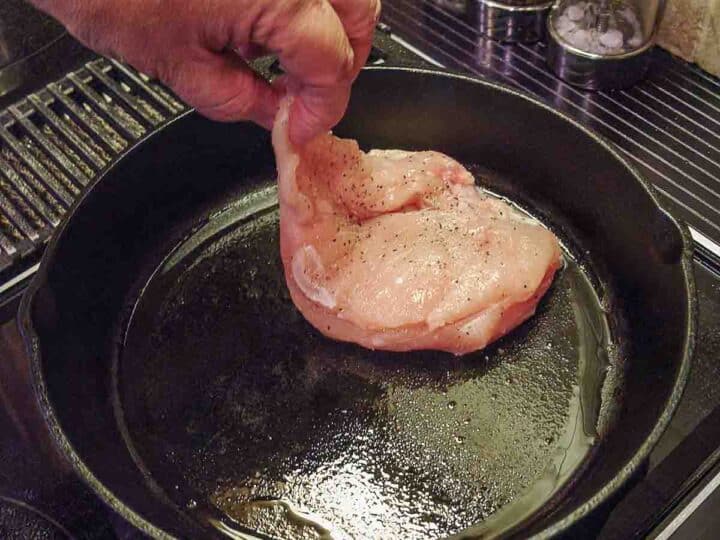
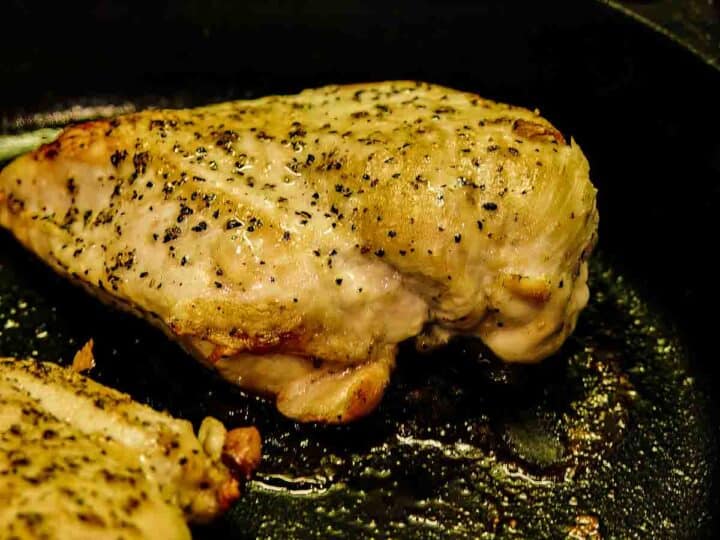
- When the oil is hot and shimmering, carefully lay the chicken breasts in the hot pan. Brown both sides for 3-4 minutes each—to almost the color you want when eating.
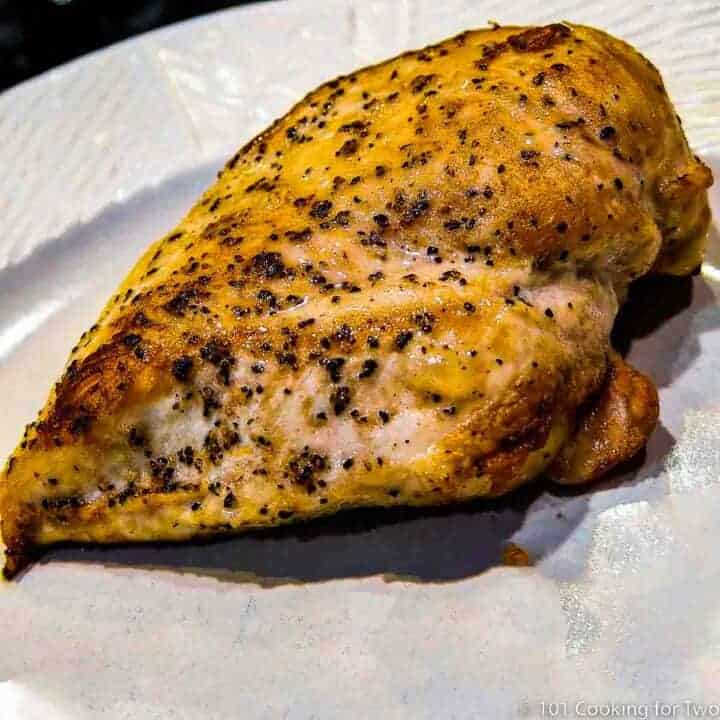
- Bake for 15-20 minutes until an internal temperature of 165°. The thinner breast will be for 15 minutes, and the bigger ones for about 20 minutes.
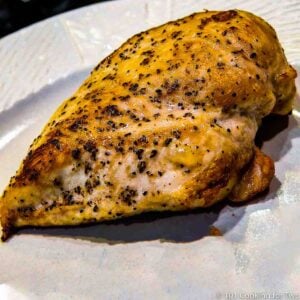
- Let rest for 5 minutes before serving.
In an oven temperature of 375° convection or 400° conventional, the most common size breasts (10-12 oz.) will take about 15 minutes after a nice medium searing. A larger breast will be about 5 minutes more. A small breast may take as little as 10 minutes in the oven.
Variability is related to the thickness of the chicken breasts and a bit by the amount of searing. Always cook to a final internal temperature of 165° and never by time alone. Times are provided to help you plan only.
You can use a different oven temperature if you are cooking something else since you are cooking to a final internal temperature. It will take a bit longer or shorter, depending on your adjustments.
Also, let the chicken rest for 5 minutes before cutting to reabsorb the fluid in the meat from the cooking process.
This is a skinless boneless chicken breast recipe. It is not for skin-on or bone-in breasts. You can use skinless chicken thighs, but I suggest a finish temperature of 180°+, although 165° is safe.
If you are doing more than one breast, try to use breasts of about the same sizes and thickness. If the breasts you use vary in thickness, you should flatten the thicker ones to ¾ inches with a meat mallet or heavy pan.
This cooking method should not be used for chicken that is still frozen. The outside will be overcooked and chewy before you get the thickest part of the breast to the safe temperature of 165°.
Just a coarse salt and pepper will do, but we like our homemade All Purpose Seasoning – 7:2:1 and 7:2:2 and keep it on the stovetop. It adds garlic, which is required in our household.
Season to your taste, but I dont suggest anything with sugars since they might burn with the searing.
Searing will create a Maillard reaction caused by heating proteins and carbohydrates. It leads to browning and new flavors. It is different from caramelization since caramelization involves only carbohydrates. One of the secrets of this recipe is the searing. You get a nice Maillard reaction (the searing/browning) to add lots of flavors you get no other way. Get them close to the final color you like during the searing before you move on to the oven-roasting step. Just baking them in the oven will not get you there/
Cast iron can quickly go from the stovetop to the oven safely. It excels at even heat distribution without hot spots, it is cheap and relatively non-stick—a near-perfect pan for this sort of recipe. I use a 10-inch cast iron skillet for two breasts for this recipe. A 12-inch skillet will work for up to 4 chicken breasts. If you dont have cast iron or another pan that is safe to go from the stovetop to the oven, you can use a different pan for the stovetop, then transfer the chicken to a preheated oven-safe pan to finish cooking.
For safety, use an instant-read thermometer in the thickest part of the chicken to be sure the internal temperature reaches the safe temperature of 165° and never cook by time.
Chicken should not be rinsed for food safety. It will splatter germs over your kitchen. For more details, please see Chicken- To Rinse or Not To Rinse? .

This recipe is listed in these categories. See them for more similar recipes.
Have you tried this recipe, or have a question? Join the community discussion in the comments.
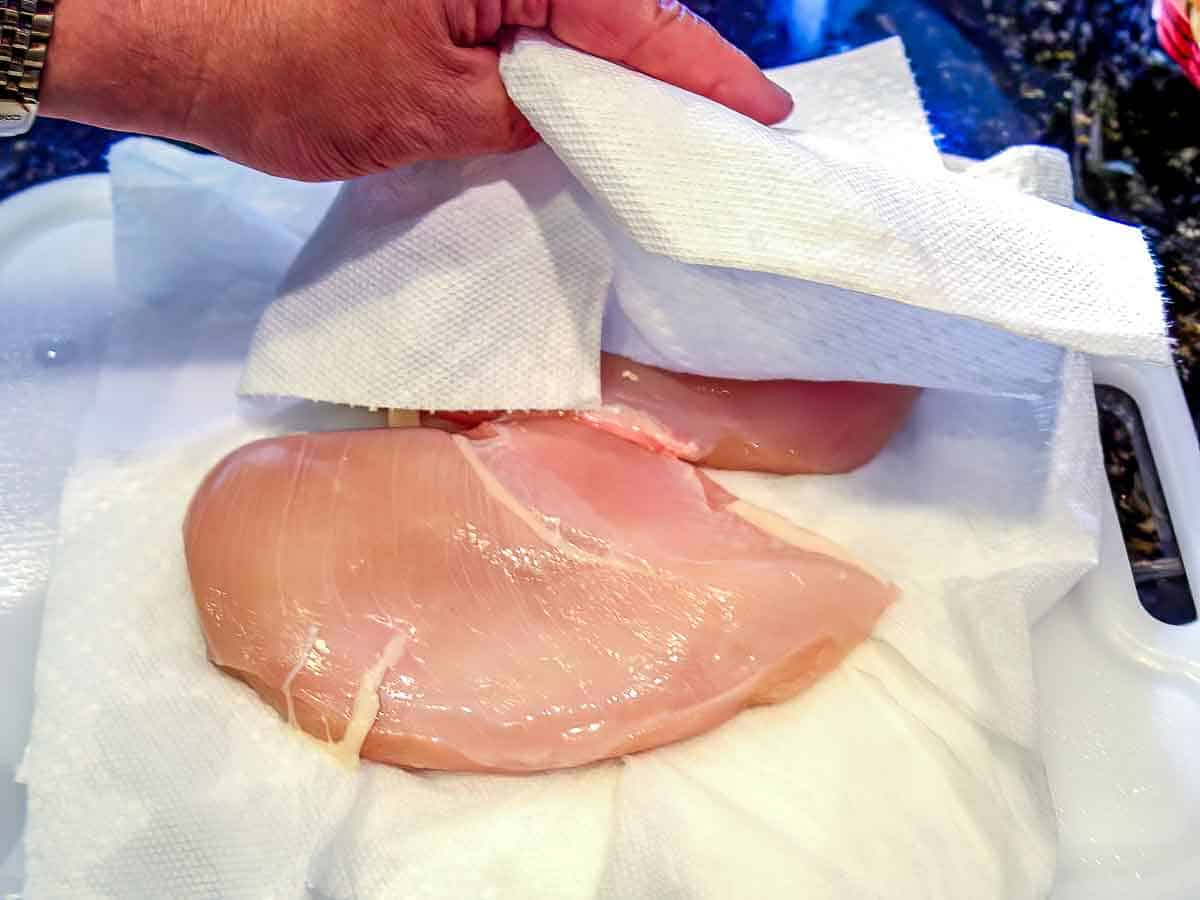
Preheat the oven to 375° convection or 400° conventional. Trim and pat dry the chicken with paper towels. If the chicken breast is over ¾ inches thick, flatten it with a meat mallet or the bottom of a heavy pan.
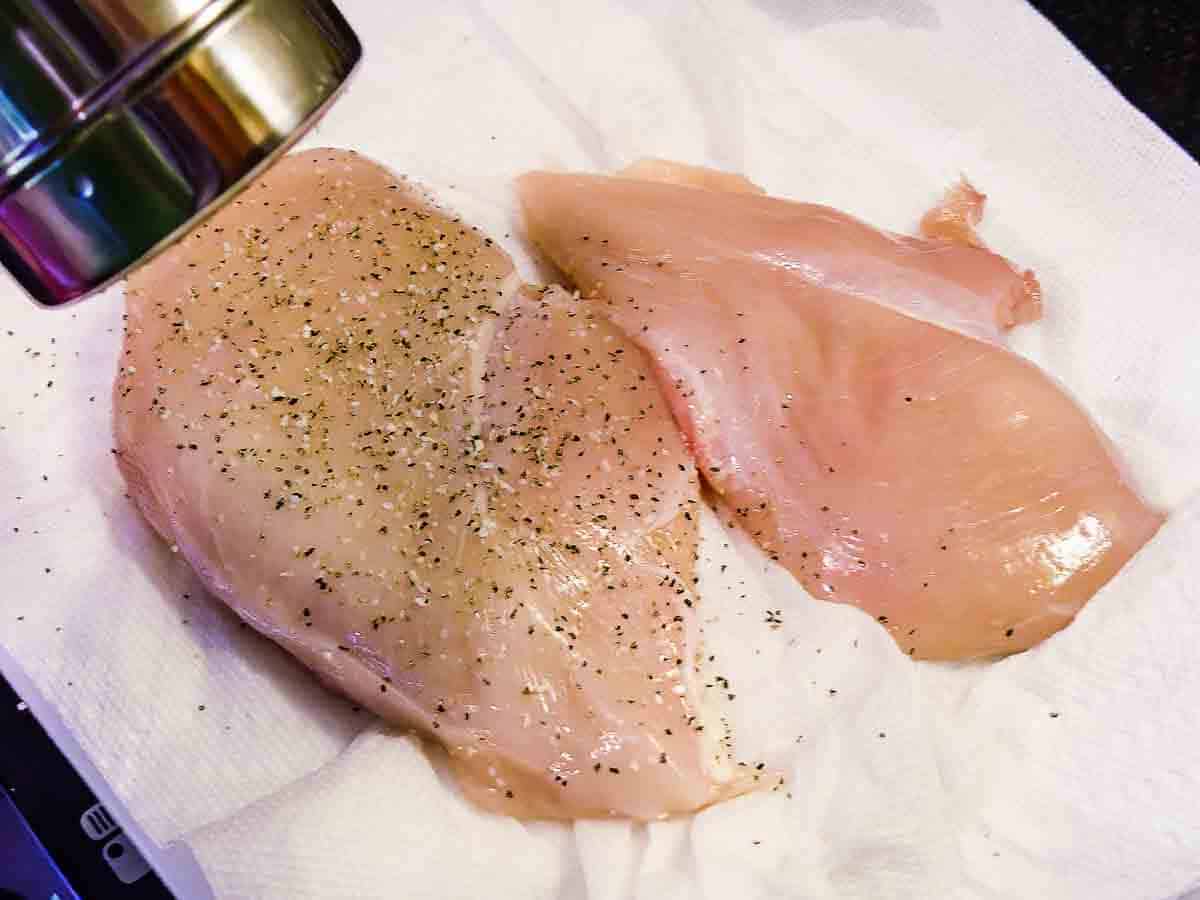
Sprinkle lightly with salt and pepper or the seasoning of your choice.
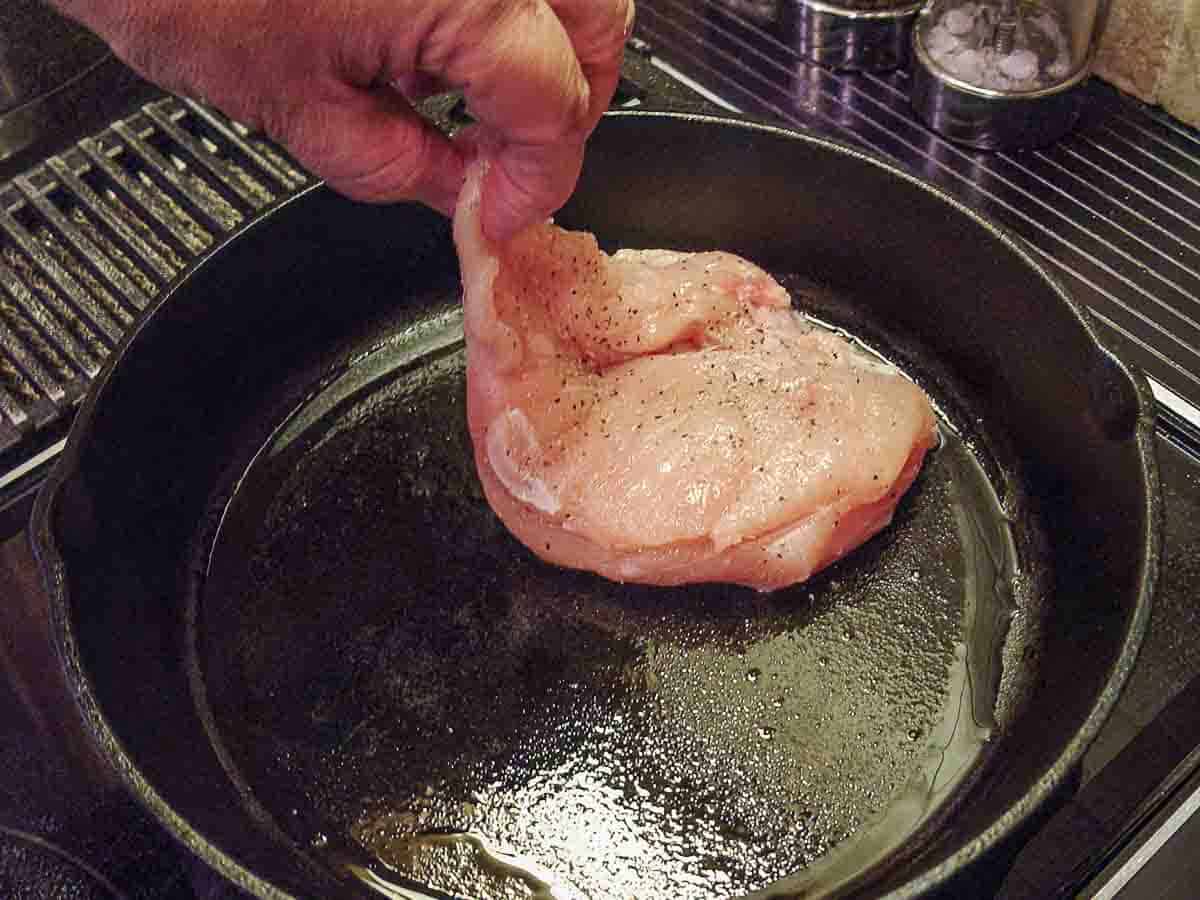
Put an oven-safe pan (cast iron preferred) over medium-high heat with a teaspoon of oil or some butter. When the oil is hot and shimmering, carefully lay the chicken breast in the hot pan. Brown both sides for 3-4 minutes each.
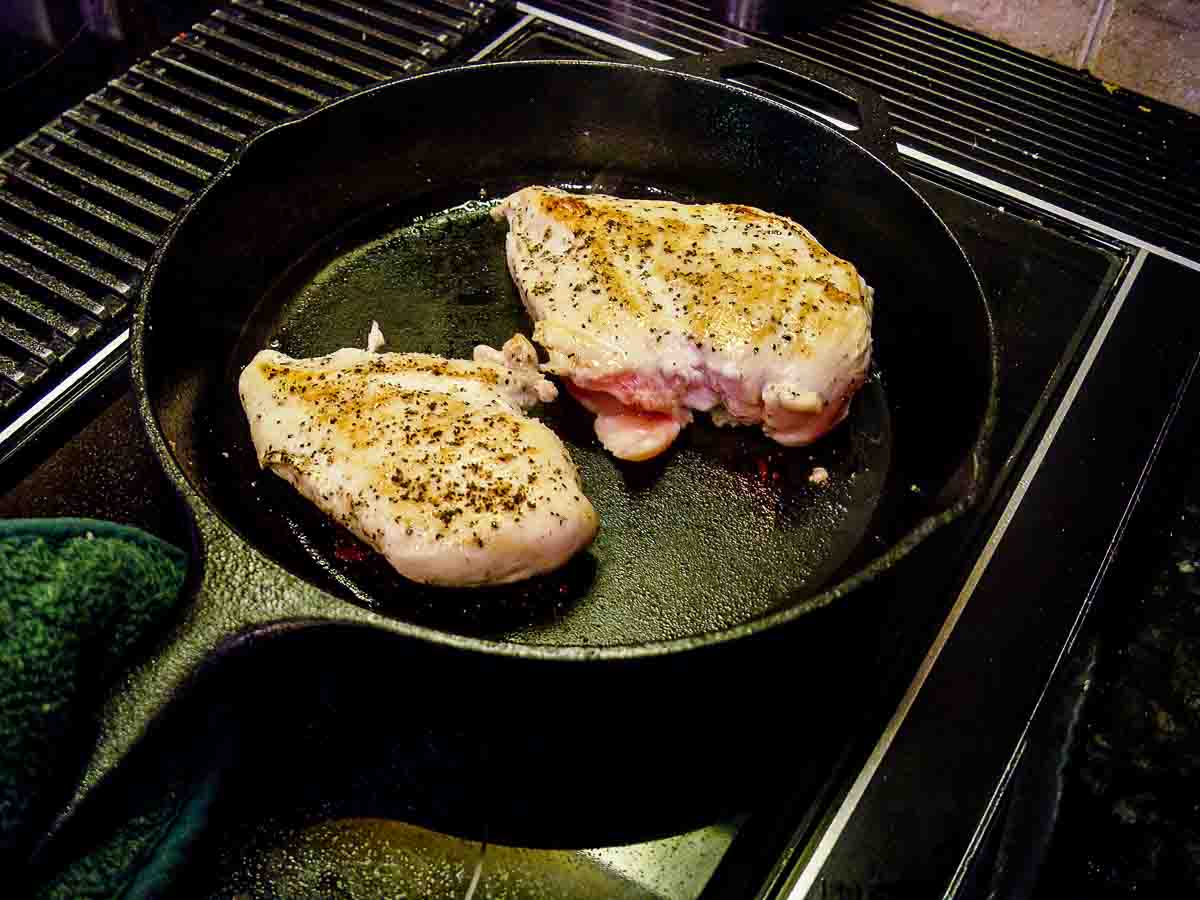
Get them to be almost the color you want when eating. So, sear, flip, sear, and a final flip into the oven.
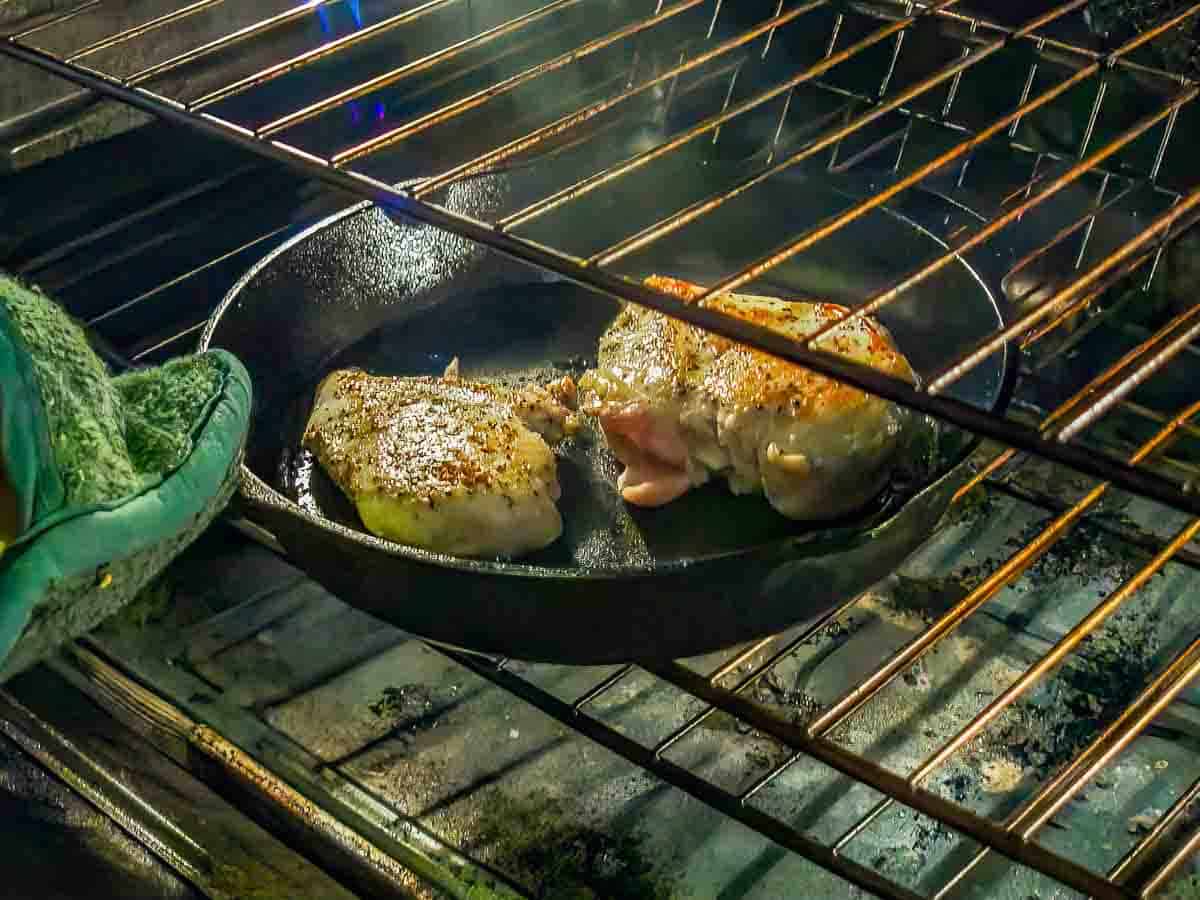
Bake for 15-20 minutes until an internal temperature of 165°. The thinner breast will be for 15 minutes, and the bigger breasts for about 20 minutes.

Let rest for 5 minutes before serving. Done in less than 30 minutes, and you spent most of the time setting and unwinding. Not bad, not bad at all.
Pan Seared Oven Baked Chicken Breasts
- ▢ 2 skinless boneless chicken breasts – about 10 oz each well timed
- ▢ 1 teaspoon oil
- ▢ Salt and pepper to taste OR 7:2:1
- Preheat the oven to 375° convection or 400° conventional. Trim and pat dry the chicken with paper towels. If the chicken breast is over ¾ inches thick, flatten it with a meat mallet or the bottom of a heavy pan.
- Sprinkle lightly with salt and pepper or the seasoning of your choice.

- Put an oven-safe pan (cast iron preferred) over medium-high heat with a teaspoon of oil or some butter. When the oil is hot and shimmering, carefully lay the chicken breast in the hot pan. Brown both sides for 3-4 minutes each.
- Get them to be almost the color you want when eating. So, sear, flip, sear, and a final flip into the oven.
- Bake for 15-20 minutes until an internal temperature of 165°. The thinner breast will be for 15 minutes, and the bigger breasts for about 20 minutes.
- Let rest for 5 minutes before serving. Done in less than 30 minutes.
Say Goodbye to Dry Chicken Breast | 3 Foolproof Methods
FAQ
How long should you sear chicken before baking?
Should you sear chicken before cooking?
Should chicken be browned before baking?
Should I sear chicken skin before baking?
Should you sear chicken before or after baking?
Searing the surface of the chicken helps lock in moisture in the meat; which in turn, it holds the flavors inside. Searing your chicken first can be helpful if you are baking the chicken after; since it gives the chicken breast a ‘crust,’ and the meat won’t dry out. Below I take you step-by-step on how to make the best seared chicken.
What are the benefits of eating baked chicken?
Roast chicken provides a good amount of protein with lower amounts of saturated fat and cholesterol, which contains more red meat. In addition, chicken meat contains large amounts of niacin and phosphorus, as well as small amounts of other minerals and also vitamin B-12, which is part of the beneficial vitamin B complex.
Why do you sear chicken before cooking?
Searing gives chicken and other meats that mouthwatering look and flavor in addition to sealing all the juices inside the meat. You can cook chicken in this fashion for a quick entreé or before baking it in the oven if you want your chicken to have a crisp crust on the outside. What does searing do to the chicken?
What does it mean to sear chicken?
To sear chicken means to cook it at a high temperature in a hot pan until a golden-brown crust forms on the surface. This is done with oil so the chicken’s surface ‘sears’ evenly without sticking. Searing gives chicken and other meats that mouthwatering look and flavor in addition to sealing all the juices inside the meat.