If you’ve read any of our Strategist editor hauls, you’ll know that our writers and editors buy a lot of stuff, and even though we think carefully about each thing that goes into our carts, there are still standouts. To close out the year, we’ve asked our staffers to write about the best thing they bought in the past 12 months. Today, Emma Wartzman on the stove-top coffee maker that’s compact, easy to clean, and makes a damn good cup.
I’m not a coffee snob (pre-ground Dunkin’ for the win), but to function, I do require an average of three cups a day — too many according to my doctor. Over the years, over apartments shared with different roommates, I’ve tried my fair share of coffee makers — but it wasn’t until earlier this year that I settled on what I can pretty safely bet will be my forever one.
A stove-top percolator flies somewhat under the radar as far as I can tell. After all, have you ever seen a coffee-grinding wheel at the grocery store with an option for “percolator”? (For the record, it needs a relatively coarse grind, akin to what you would use in a French press.) Why this lack of ubiquity exists is a mystery to me, and I’m here to do my small part to change that.
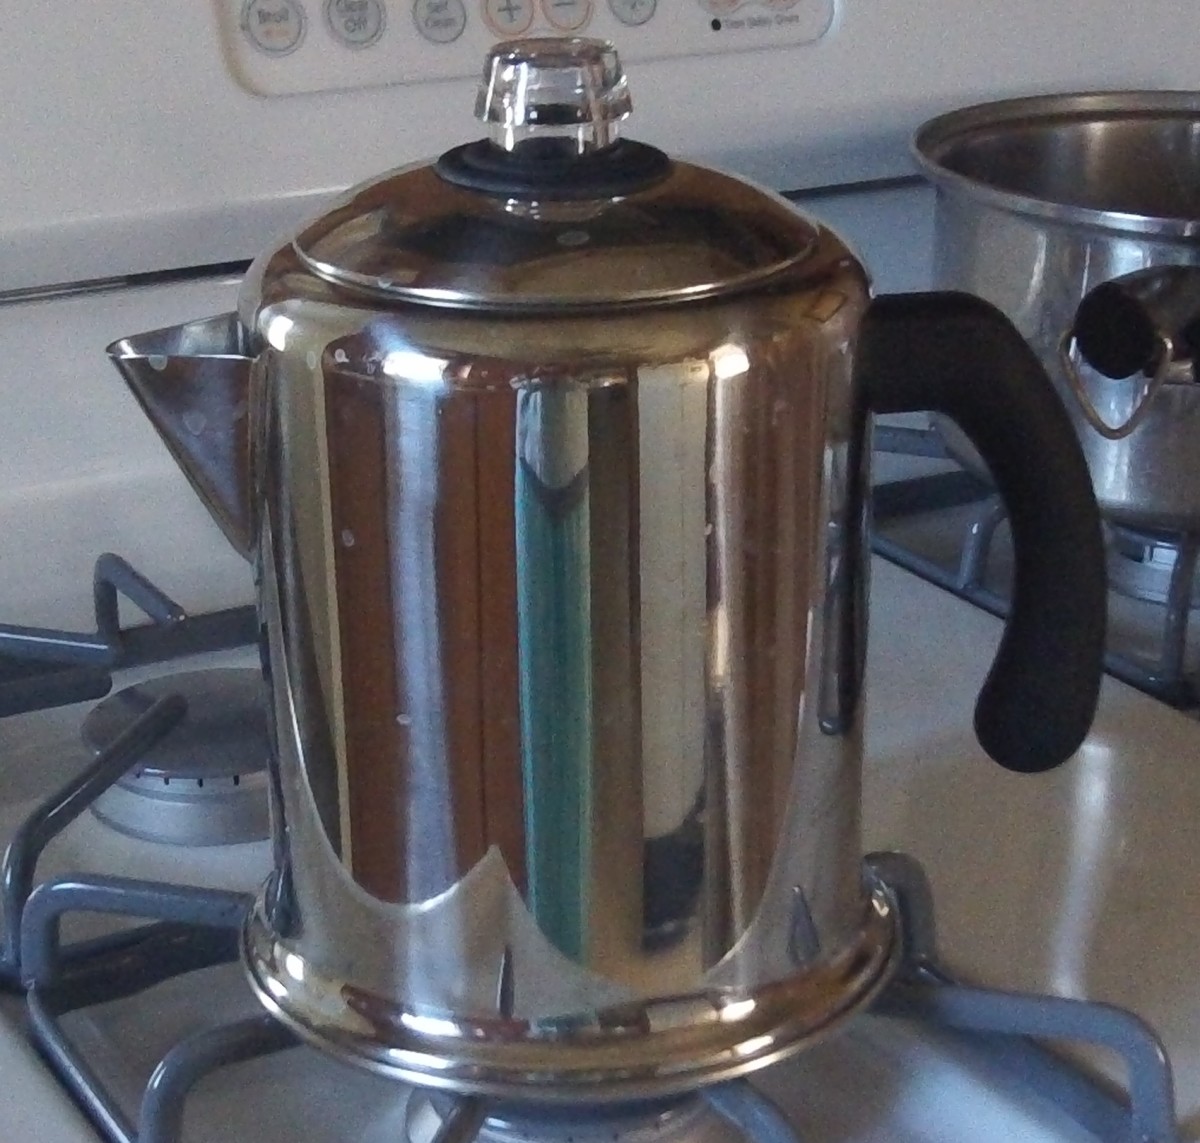
The percolator looks almost like a tall tea kettle. It’s made entirely from stainless steel save for a handle on one side and a little glass knob at the top that shows you when your coffee is, you know, percolating. You simply fill the main chamber with water (there are lines inside that tell you how many cups you’re adding) and then scoop your coffee grounds into a filter cup — no disposable paper required. The filter cup slides neatly on top of a thin pole inside the main chamber, followed by a perforated disk on top, and then you seal the whole thing shut with a tight-fitting lid. You turn on the burner to medium-high, wait about ten minutes until you see water jumping enthusiastically up into the glass knob, turn it down to medium-low for another several minutes until it has turned deep brown, and then, finally, off. That’s it.
Even in its best form, a traditional plug-in coffee maker takes up a lot of counter space, which, if you have that, good for you. I do not. The percolator lives over one burner on my stove, leaving my countertop free for other appliances.
A traditional coffee maker also, I find, requires a fair amount of upkeep. Perhaps my experience with that has been influenced by those aforementioned roommates (things just seem to get dirtier when a lot of people are using them), but the mere fact of inserting a filter then taking the damp filter out will every so often result in smudges and spills that need to be hand-wiped down. The percolator, on the other hand, is the easiest thing in the world to clean. The stainless steel wipes down easily and beautifully if you’re handwashing, and even better, you can throw each part into the dishwasher.
You might be thinking smaller coffee makers have their own advantages, too. But the percolator is less fussy than an Aeropress and pour-over, and even in my non-snobbiness, I’ve never been a fan of the way French press coffee tastes (I often find it kind of muddied).
Finally, not to be overlooked is the fact that the percolator doubles as a loose-leaf tea maker (you can also boil water just as you would in a kettle, without the inserted components, if you prefer bagged tea). The nonreactive material means it doesn’t hold on to any coffee taste, so as long as it’s clean, you pour your tea into the same cup as you do your coffee grounds, and voilà. I make large batches of iced tea in the summer and keep one on the stove in the afternoon in the winter, heating it up over a low flame as needed. Trying to (slightly) curb that too-much-coffee-a-day habit, you know?
Remove Cover, Basket, Spreader and Pump Tube. Use cold, fresh tap water to fill Percolator. Fill according to markings on inside of Percolator for number of cups desired. Use cold tap water the automatic brewing cycle is timed to begin with a cold.
get the strategist newsletter Actually good deals, smart shopping advice, and exclusive discounts. Email This site is protected by reCAPTCHA and the Google
By submitting your email, you agree to our Terms and Privacy Notice and to receive email correspondence from us.
Every product is independently selected by (obsessive) editors. Things you buy through our links may earn us a commission.
Fill the unit with cold water according to the amount of coffee that you would like to brew, then add a little water to the basket to help prevent coffee grounds from getting into your brewed coffee. Replace the metal tube and basket inside the unit.
The base of the Farberware percolator contains electrical components which cannot be immersed in water. Never attempt to clean the unit in a dishwasher.
Before using your new percolator, give the inside a thorough wash with water and a little detergent. Continue to clean it regularly to avoid bitterness in your coffee.
Plug the percolator into a wall outlet. It will begin brewing your coffee immediately. For every cup of water, approximately one minute of brewing time will be needed. The unit will stop brewing when the coffee is ready to drink, and will keep the brew warm for you.
Pour out any remaining coffee when you are finished enjoying your brew. Rinse the inside of the percolator and basket with cool water and put the unit away with the cover removed to allow it to dry.
How To Make Coffee in a Percolator step by step demo and Review
FAQ
How does a Farberware percolator work?
How much coffee do you use in a Farberware percolator?
Why did people stop using percolators?
How do you use a coffee percolator?
For electric percolators, plug the unit in and heat the water following the manufacturer’s directions. Step 4: Perk! Percolate the coffee for 7-10 minutes, depending on the desired strength. Remove the percolator from the heat. Using oven mitts, remove the coffee grounds basket and discard the spent grounds.
How do you heat a percolator on a stovetop?
Place the percolator on the stovetop and heat it over medium heat. Heat the percolator slowly until it starts peaking, monitoring the progress through the glass top. Reduce the heat so the water is hot but not simmering or boiling. You shouldn’t be able to see any steam coming out of the percolator.
Is Farberware a good coffee percolator?
The Farberware 12-cup percolator has been in the market for over 100 years, satisfying the coffee taste of many. It is certainly a good buy at a decent price range. One of the better coffee percolators made from pure stainless steel, this is a decent purchase if you want to get 6-12 cups of rich coffee.
What is a stovetop coffee percolator?
A stovetop coffee percolator is an old-fashioned way of brewing coffee, and it produces better coffee than electric coffee makers. Read to find out how to use a percolator.