We’ve frozen plenty of cakes and have made enough mistakes to know what really works. Let’s learn how to freeze cakes so that they taste the freshest!
You need a cake, but life’s busy and spontaneous plans pop up. We totally get it.
Making desserts ahead of time for a gathering or party is a wonderful way to avoid stress, the last thing you need before an event. So let’s talk about freezing cakes ahead of time.
The best and easiest way to make a cake ahead of time is to freeze the unassembled/undecorated layers. Over the past few years, I’ve tested multiple different ways to freeze cakes including changing factors like the cooling process, the wrapping, the container, the length of time, thawing, decorating, etc. Last year I found the best method when I was prepping and practicing cakes for my daughter’s birthday. I’ve frozen plenty of cakes—all different sizes—and I’m really excited to share the most successful freezing process with you today.
For just the sake of time, it just makes sense to do all your baking one day and decorating on another! I also find that the freezing process seals in moisture. We all love moist cake! Especially if you crumb-ice the cake just before your cake is completely thawed, before all the air evaporates.

How to Freeze Cakes
Step 1: Bake and completely cool a cake/cake layers. These step-by-step photos show round cakes, but you can freeze square, rectangle, Bundt cakes, etc. See my 10 best Cake Baking Tips for best practices on baking and cooling cakes.
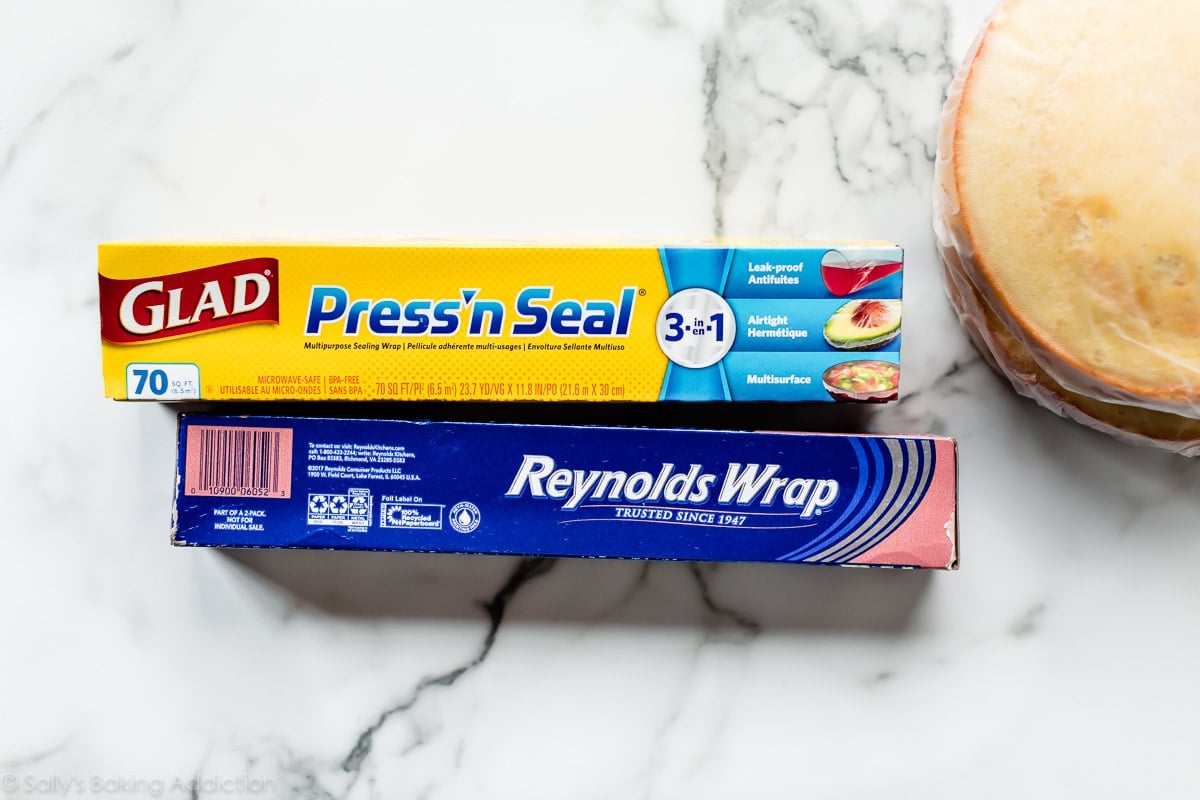
Step 2: Once the cake(s) cools completely, wrap it in Press & Seal. From one baker to another—this is the best product for wrapping cakes. Maybe it’s just me, but thin plastic/saran wrap is incredibly clingy and frustrating. And I always feel like I need to double wrap food when using it. It definitely works, but Press & Seal is so much easier to use and I’ve honestly found that it keeps my food fresher. (Not working with this brand, just really love it.)
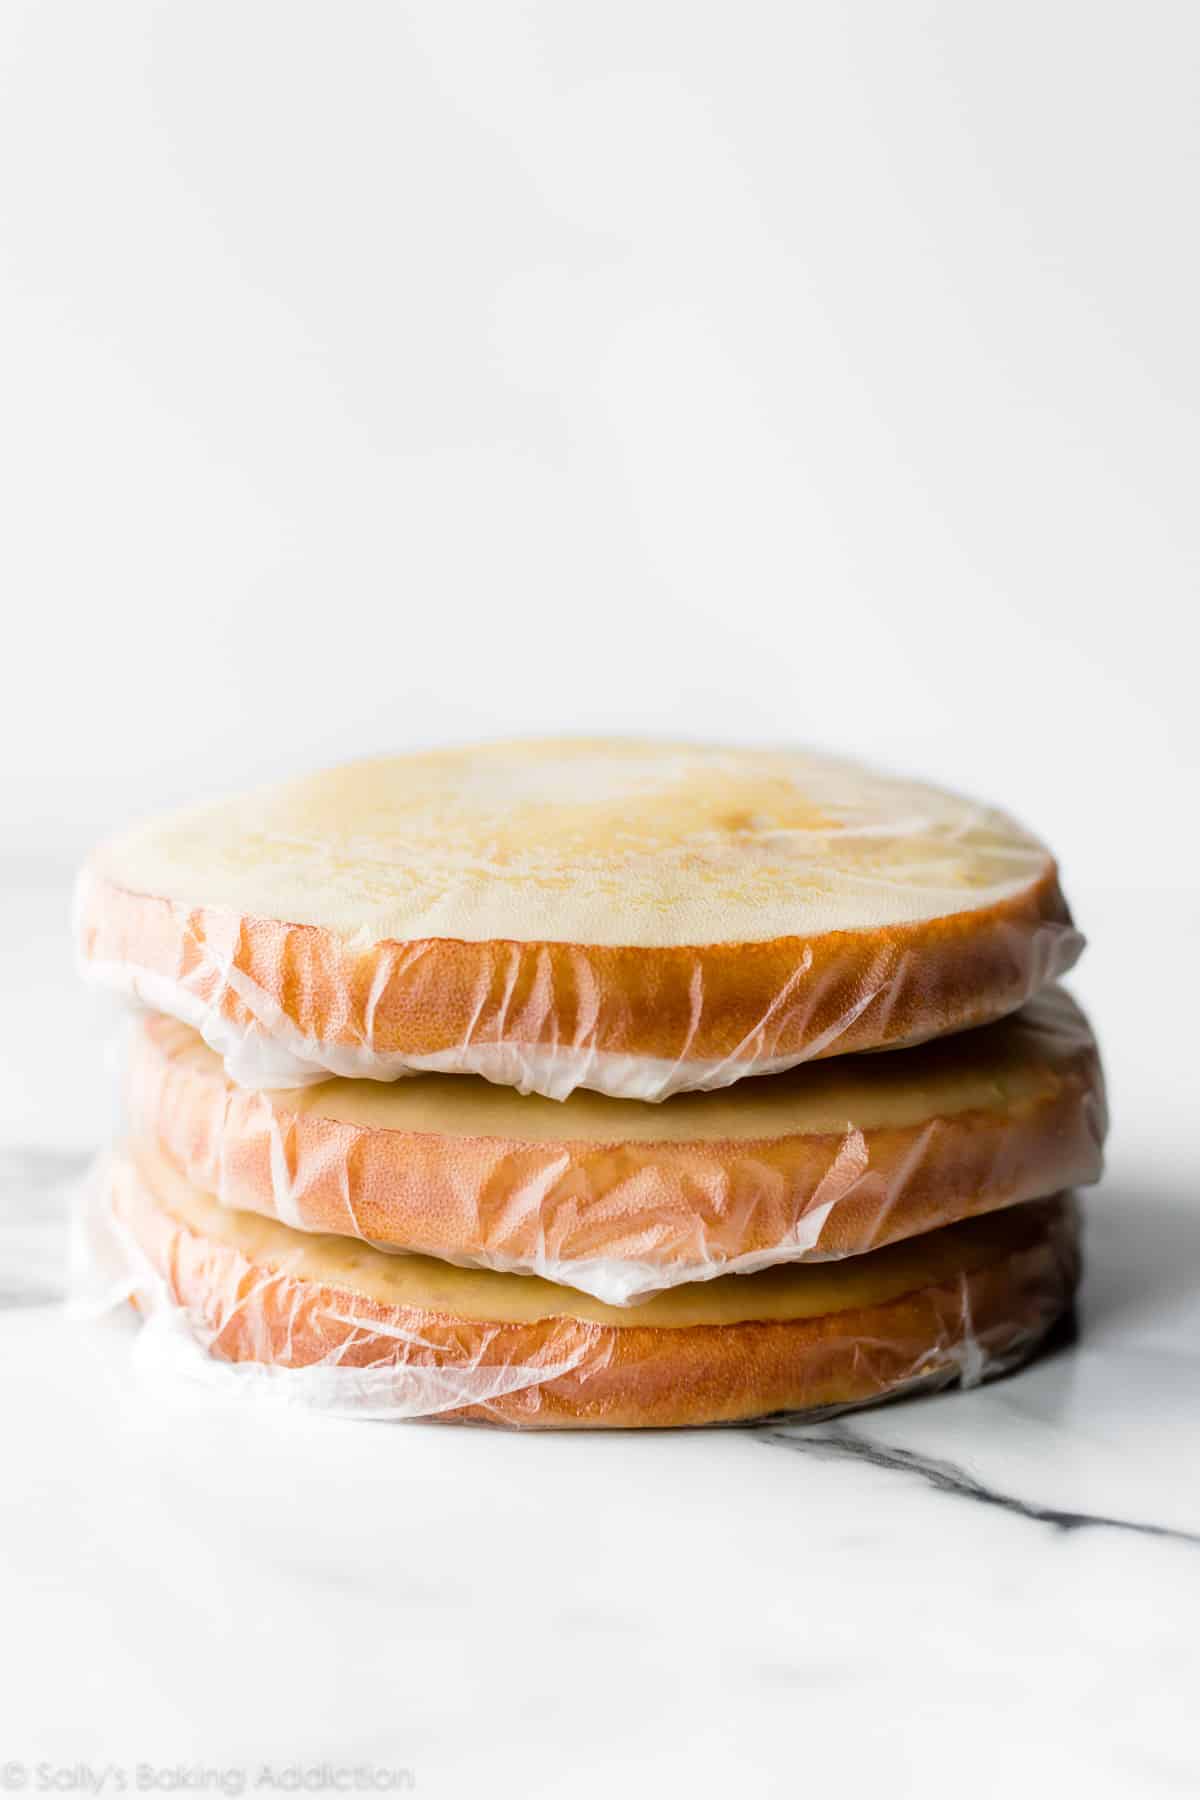
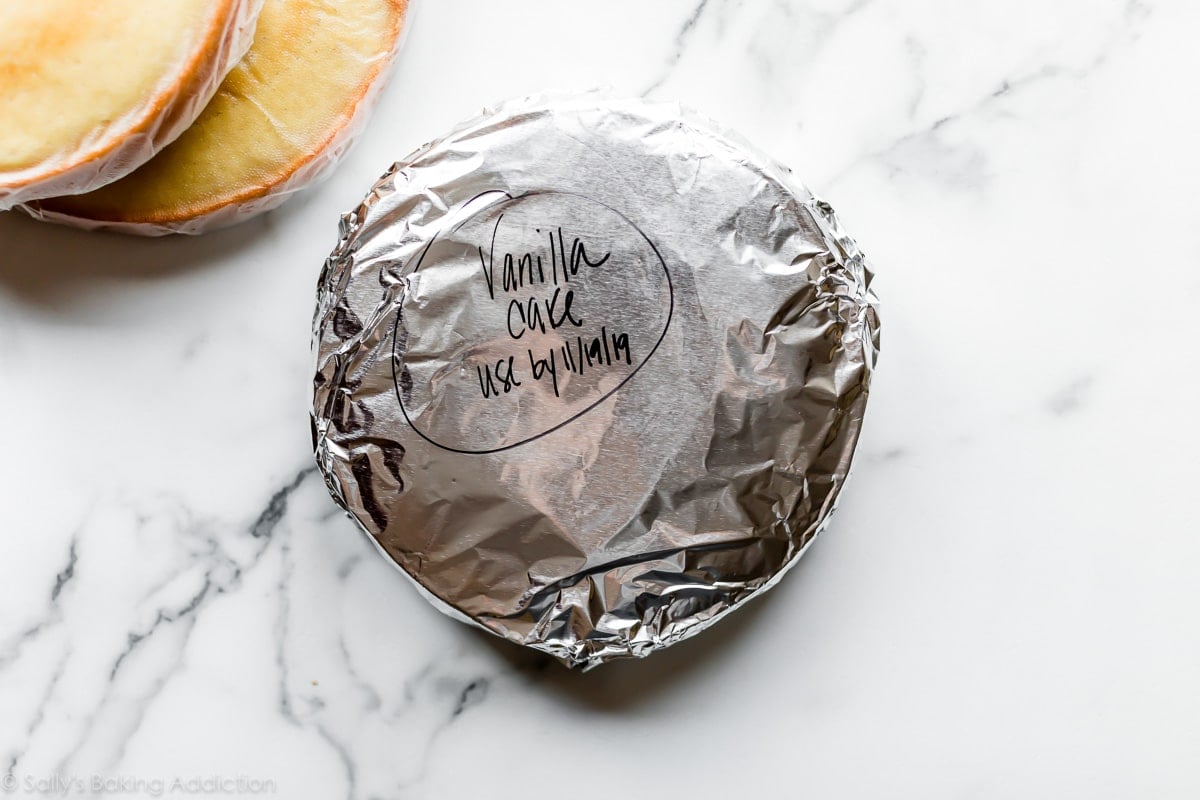
Step 3: Write the type of cake and use-by date on a large piece of aluminum foil. For best taste and texture, don’t freeze cakes for longer than 3 months. You could stretch it to 4 or 5 months, but the sooner you serve it, the fresher it tastes. I write on the aluminum foil before wrapping the cake just in case the ink seeps through. (It has before!)
Step 4: Wrap the cake in the aluminum foil.
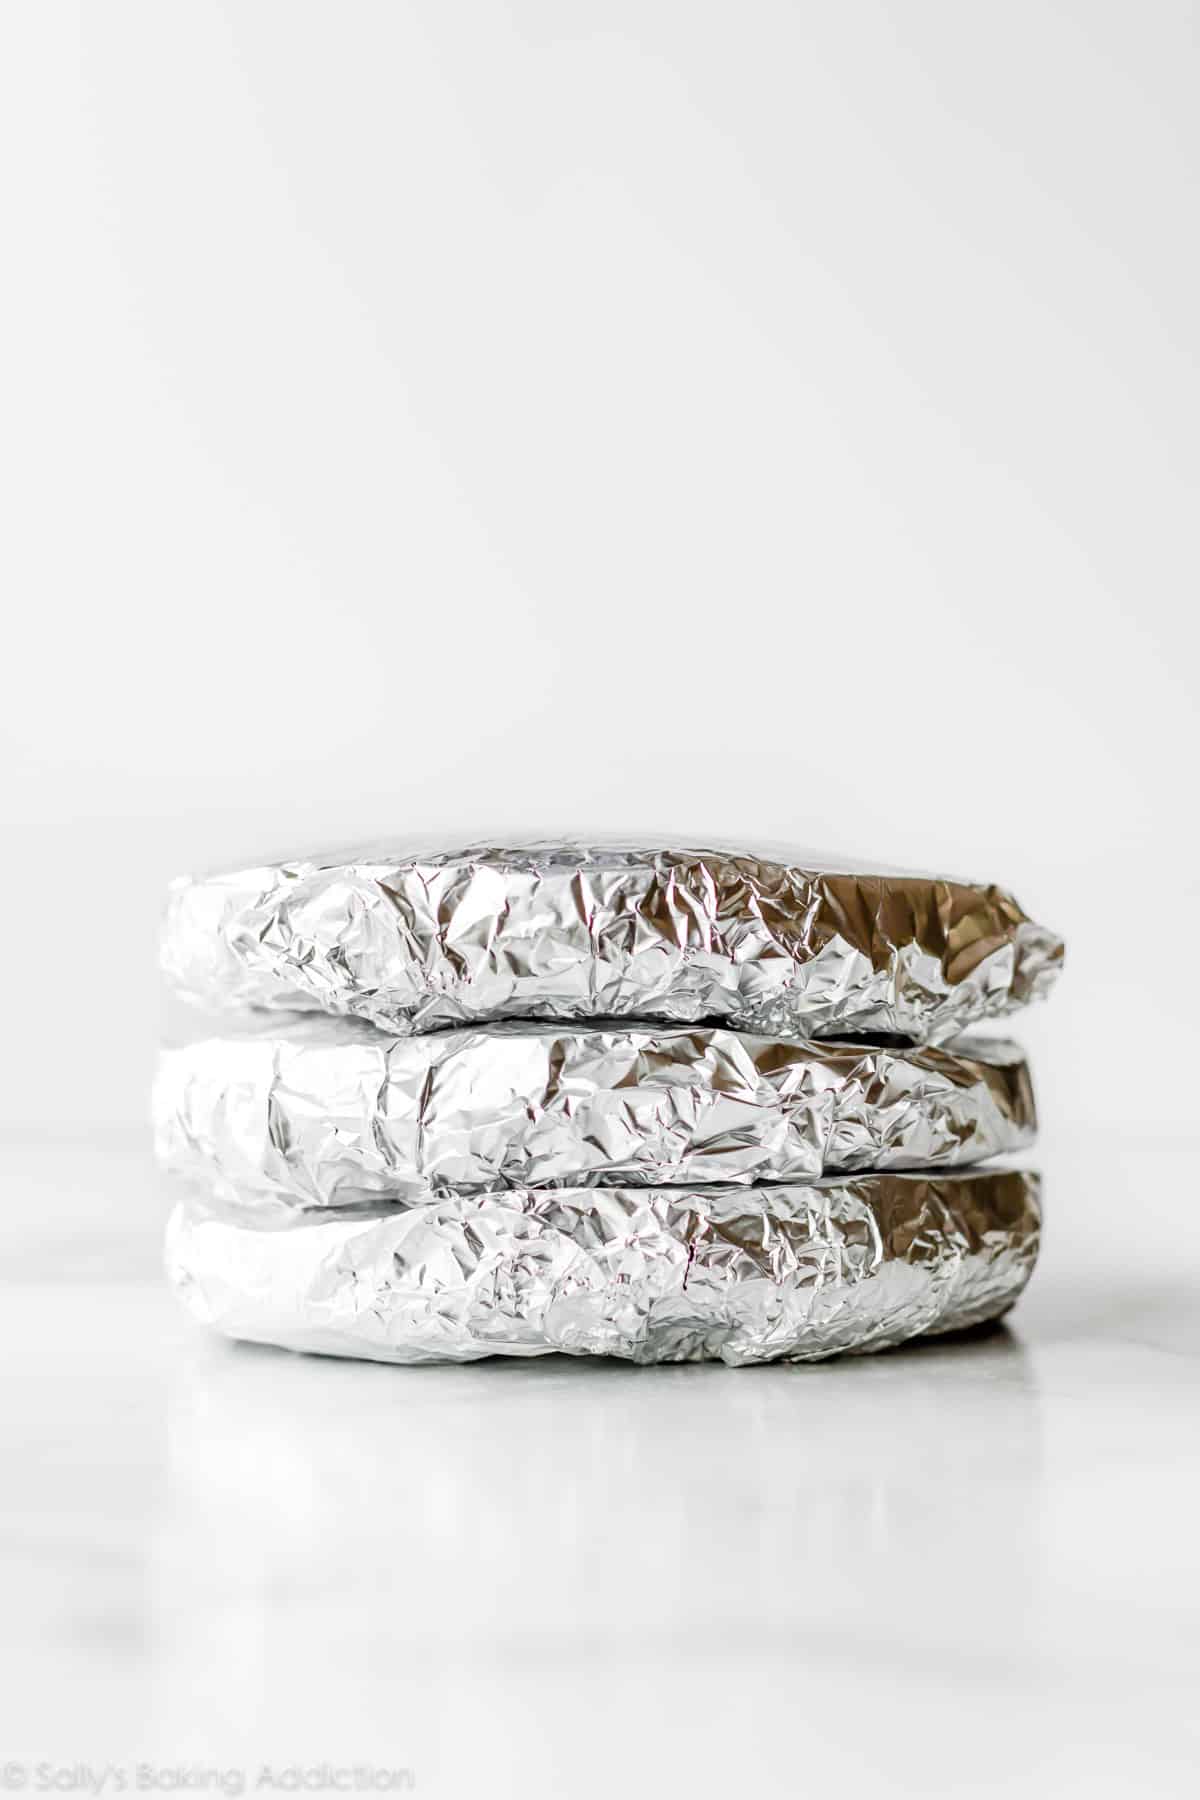
Step 5: Place the cake(s) in a freezer-safe container. Or if you don’t have a big enough container, wrap in another layer of aluminum foil. Of course make sure the foil with the date on it is what’s on the outside.
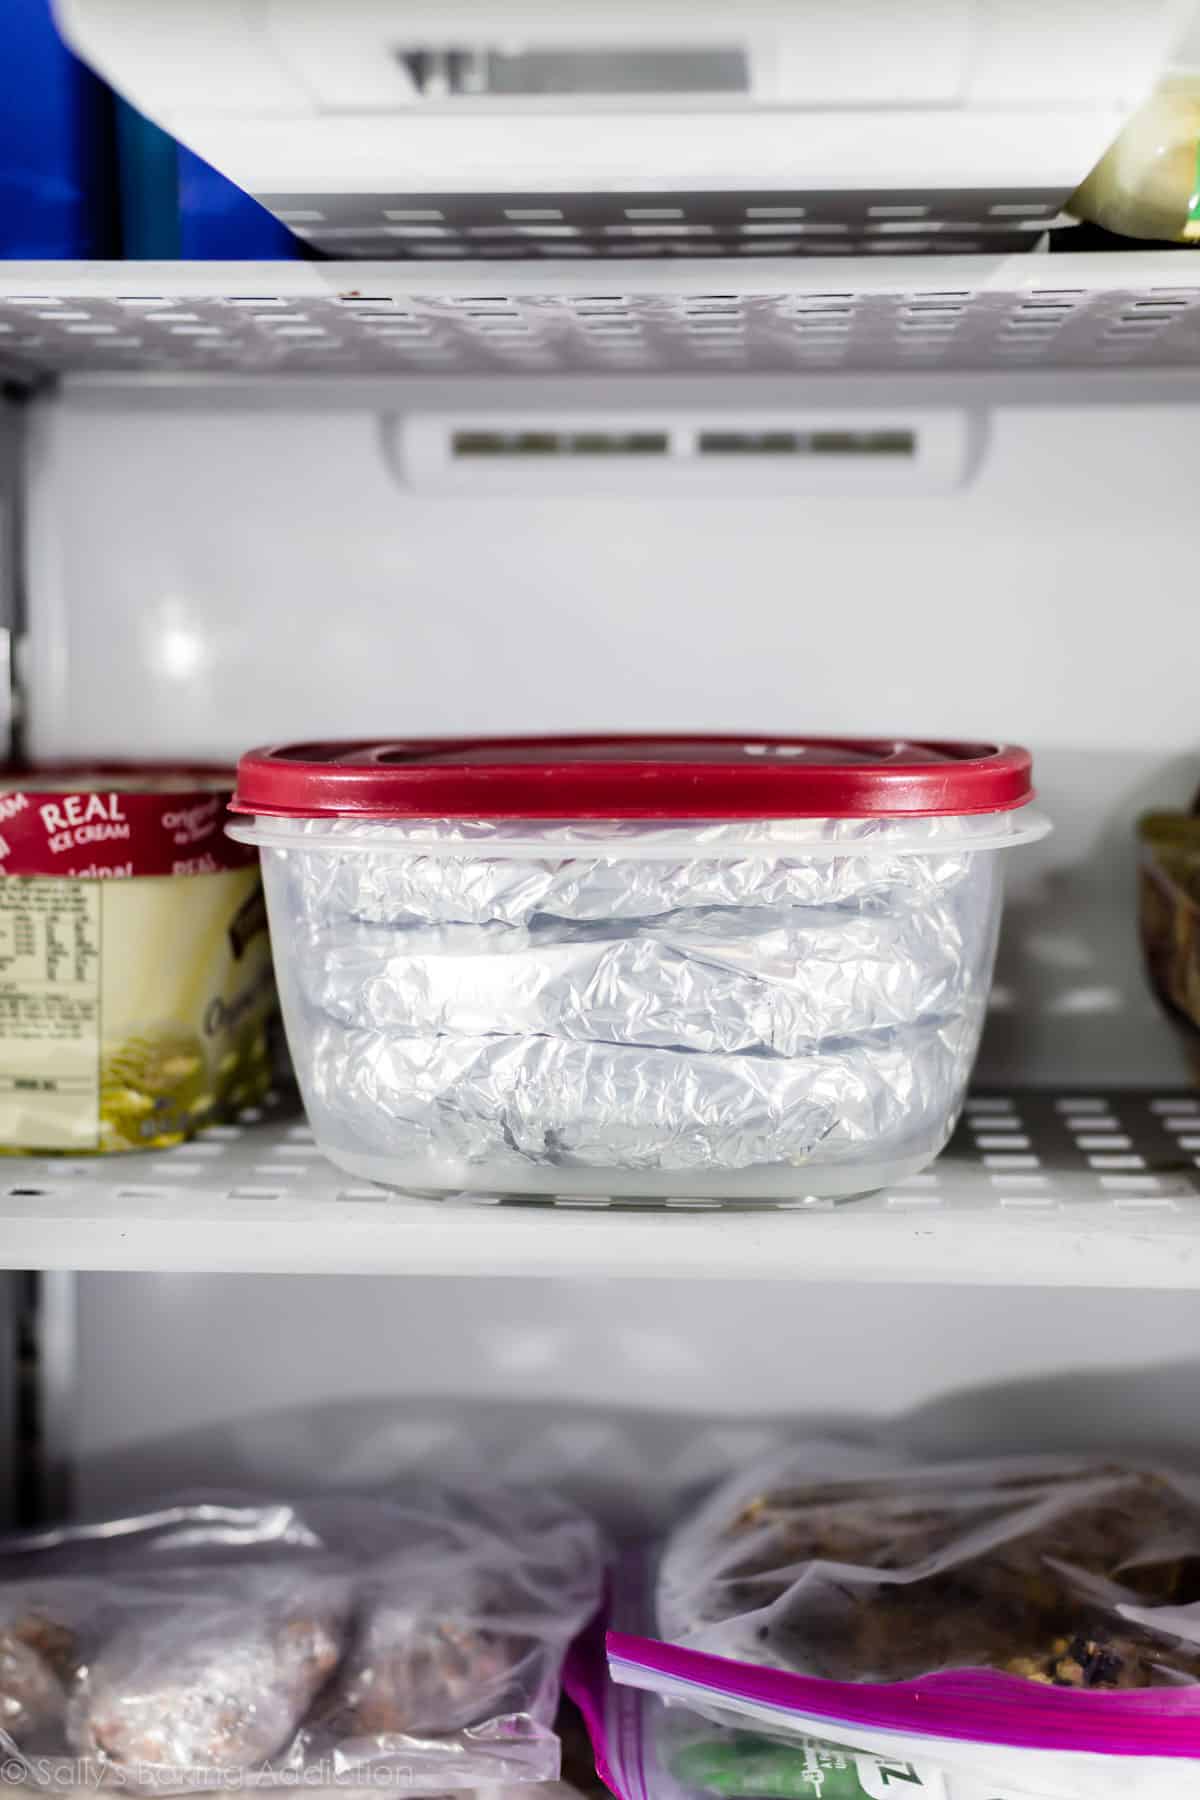
Step 6: Freeze for up to 3 months.
The cakes are wrapped in two layers: Press & Seal, then aluminum foil. The first layer keeps the cake tight and fresh and the aluminum foil ensures no condensation will seep in. This is also how I wrap banana bread and other quick breads, too. Double layer = maximum freshness and no freezer burn. Moisture is the enemy, so don’t be afraid to add another layer of Press & Seal or aluminum foil.
How to Thaw Cakes
Thawing cakes is easy. Transfer the wrapped cakes from the freezer to the refrigerator one day before decorating/serving. I usually take them out of the freezer container to thaw. The cakes take at least 8 hours to thaw completely in the refrigerator. Sometimes I forget and just let the cake(s) thaw at room temperature, but it’s better they thaw at a slower rate in the refrigerator.
This is important: Make sure you’re thawing the cakes while they’re still in the wrapping. You see, condensation forms as foods thaw. This way the condensation will form on the wrapping, not the cake. Wet sticky cake, anyone?
Why freezing cakes keeps them moist – Cake tip 3
FAQ
Do professional bakers freeze cake?
Does freezing a cake change the texture?
What are the benefits of freezing a cake?
How do you keep a cake from drying out in the freezer?
