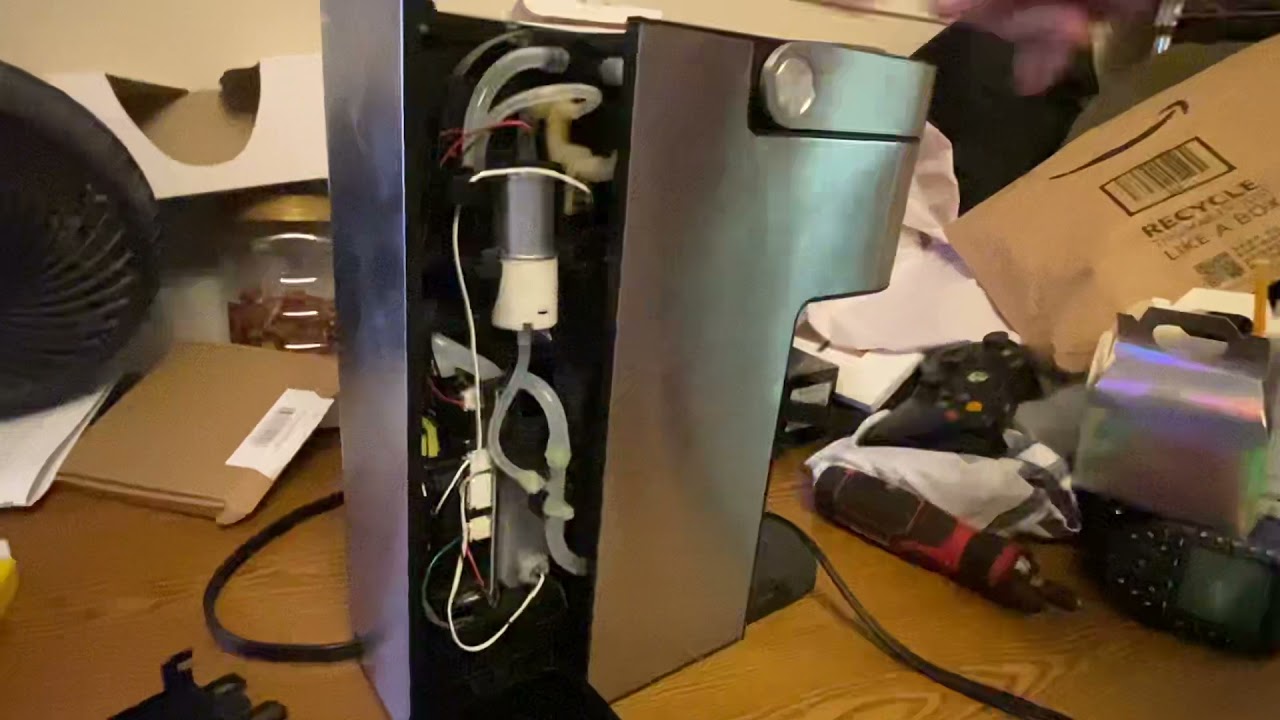
Is your Keurig slow to brew or leaking water? This quick fix might be your answer to get you right back to brewing. This guide will show you how to easily replace your check valve in the Keurig B70 Platinum. The check valve is located at the top of the machine and can cause slow brewing or water not coming out of your machine if it is clogged or damaged.
Before continuing, make sure you unplug your machine and have a Phillips screwdriver and a pair of scissors handy.
Choose a size and copy the code below to embed this guide as a small widget on your site / forum.
Keurig Fix – Part 2: Cleaning the Check Valve
FAQ
Why is the water not flowing through my Keurig?
What does a check valve do in a coffee machine?
What is a common problem with Keurig?
How do you remove a check valve from a Keurig?
Remove the two screws from under the front end of the Keurig lid. Lift the handle, open the lid, and jimmy the lid off. This might take some maneuvering and back-and-forthing. Cut off the zip tie that secures the rear hose to the check valve (see photo/video below).
How do I fix a Keurig not turning on?
Plug the unit, locate the power button and hold it down until the machine lights up. Make sure the water reservoir is seated properly at its place otherwise, Keurig won’t turn on. Double-check if the power cable is attached properly to your machine. If nothing helps, it’s time to call Keurig Customer Care support.
How do I fix a Keurig coffee maker that stops pumping?
How to troubleshoot and fix a Keurig Coffee Maker that stops pumping. Here’s what to do AFTER you have cleaned the reservoir filter and your Keurig STILL isn’t working. Supplies: 1) Small phillips-head screwdriver 2) Wire cutter, nail clippers, or scissors 3) Zip tie
How do you remove a water tank from a Keurig?
Open the Keurig all the way, and again use a paper clip (or similar). A hypodermic needle or similar can also be used to open up the water outlet Next remove the water tank by simply lifting it up. On the inside bottom of the tank is a simple check valve that allows the removal of the tank, then empty the tank.