Hey there, kitchen warriors! If you’re wondering, “Can you pressure can apple butter?”—the short answer is yep, you sure can, but there’s a bit of a twist to it. I’m gonna spill all the deets on how to do it, whether you should, and why some folks reckon there’s a better way. At our lil’ cooking corner, we’ve messed around with plenty of apple butter batches, and I’ve got the scars (and burnt pots) to prove it! So, grab a cuppa, and let’s dive into this sticky, sweet world of canning apple butter with a pressure canner—safety first, flavor second, and a whole lotta fun in between.
What Even Is Apple Butter, and Why Can It?
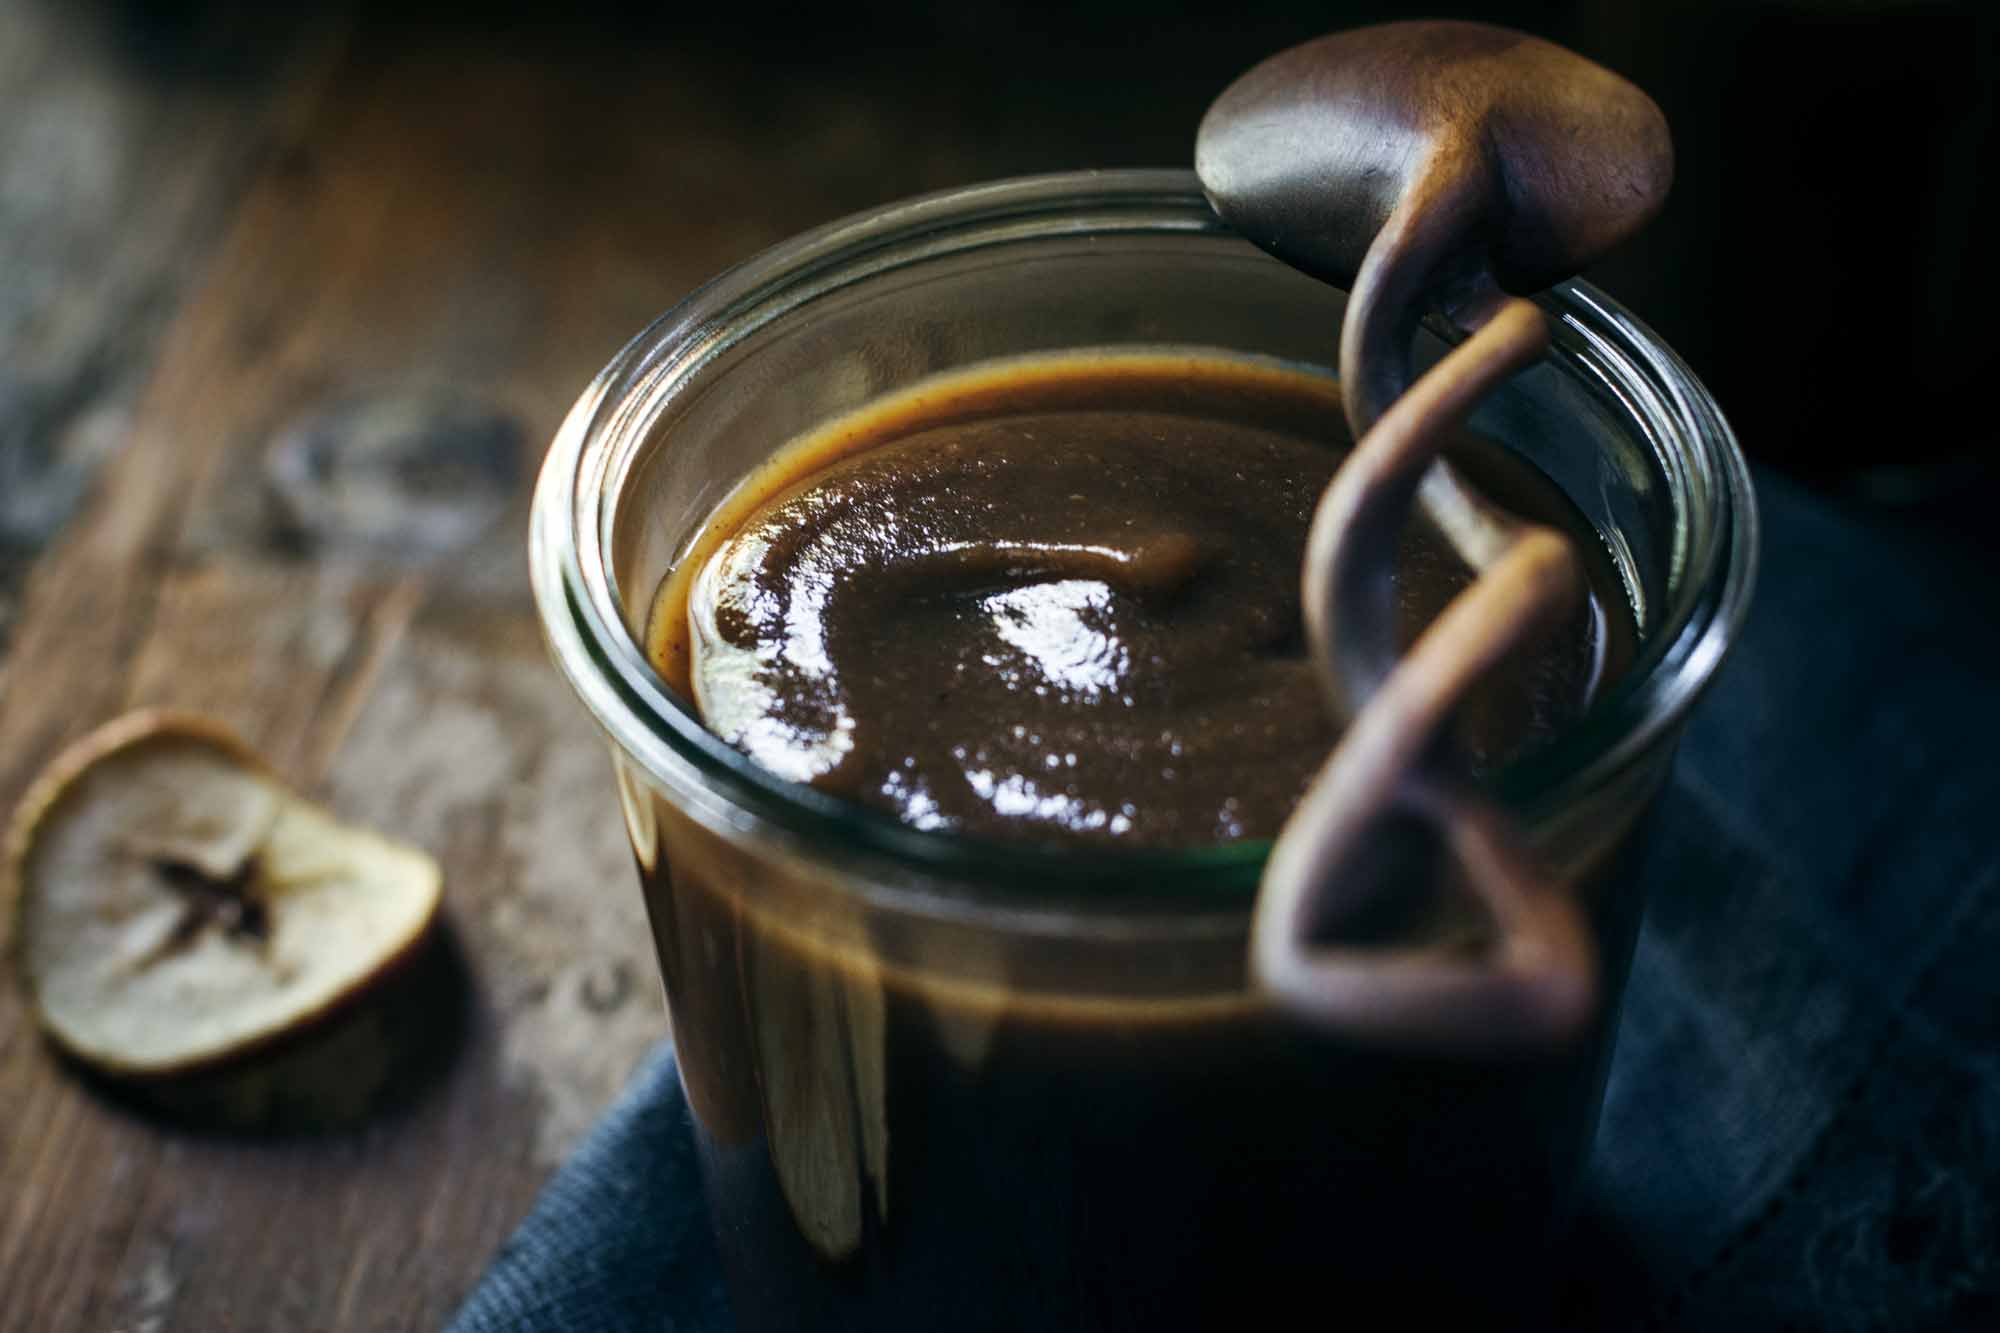
Before we get into the nitty-gritty of pressure canning let’s chat about what apple butter is. If you ain’t tried it yet, it’s like apple sauce’s richer sassier cousin. It’s made by slow-cooking apples ‘til they’re mushy, then mixin’ in sugar, cinnamon, maybe some nutmeg or cloves, till it’s thick enough to spread on toast or slather on pancakes. It’s pure fall in a jar, y’all.
Now, canning apple butter is how ya keep that goodness around all year. Without canning, it’s fridge-only for a couple weeks before it goes funky. Canning seals the deal—literally—by creating a vacuum in the jar that keeps nasties like mold and bacteria out. But here’s the kicker: apple butter’s acidity level is a bit of a gray area. Some say it’s high-acid enough for simpler water bath canning, while others call it low-acid, meanin’ you gotta bring out the big guns—aka a pressure canner—to zap any botulism risk. So, can you pressure can it? Heck yeah, but let’s unpack if it’s the best move.
Pressure Canning Apple Butter: Is It Safe and Smart?
Right off the bat, pressure canning apple butter is totally safe if you do it right It’s a method that uses high heat and pressure to hit temps around 240°F, hot enough to kill off any sneaky bacteria spores that could make ya sick Since apple butter might be low-acid (depending on the recipe or apples), pressure canning can be a solid choice to play it safe.
But here’s the rub—some folks includin’ me after a few overcooked batches think pressure canning can mess with the quality. It’s a long, hot process, and apple butter don’t always take kindly to that. It can get super dark, almost burnt-lookin’, and the sugar might caramelize in a weird way. I’ve had jars come out lookin’ like tar—still edible, but not exactly appetizin’. So while it’s safe, it ain’t always the prettiest or tastiest option.
Quick Pros and Cons of Pressure Canning Apple Butter
-
Pros:
- Super safe for killin’ off any bad bugs, especially if you’re unsure about acidity.
- Works great if you already got a pressure canner and know how to use it.
- Gives peace of mind for long-term storage.
-
Cons:
- Can overcook the apple butter, changin’ color and flavor.
- Takes longer than other methods for somethin’ that might not need it.
- Bit of a learnin’ curve if you’re new to pressure canning.
How to Pressure Can Apple Butter: Step-by-Step Guide
If you’re set on pressure canning, I’ve gotcha covered with the steps. I’ve done this enough times to know where ya might trip up, so follow along close. This ain’t no quick jam session—it’s a commitment, but the reward is worth it when you pop open a jar mid-winter.
What You’ll Need
- Pressure Canner: Not just any pressure cooker—make sure it’s a legit canner designed for this. Them Instant Pots won’t cut it for safe canning, trust me.
- Canning Jars: Go for glass Mason jars, pint or quart size, whatever ya fancy.
- New Lids and Bands: Don’t reuse lids; the seal won’t hold. Bands can be reused if they ain’t rusty.
- Jar Lifter and Funnel: Makes life easier and saves ya from burns.
- Apple Butter: Homemade or store-bought, ready to go hot into jars.
- Non-Metallic Spatula: For gettin’ air bubbles out—wooden or plastic works.
The Process: Let’s Can This Stuff!
- Prep Your Jars and Lids: Wash ‘em in hot, soapy water, then sterilize by boilin’ in water for 10 minutes. Keep ‘em hot ‘til you’re ready to fill. Simmer the lids in hot water (not boilin’) to soften the sealin’ goo.
- Fill ‘Em Up: Ladle your hot apple butter into the hot jars using a funnel. Leave about half an inch of headspace—that’s the empty bit at the top. Too little, and it might leak; too much, and it won’t seal right.
- De-Bubble: Use that spatula to gently poke around the sides of the jar. Get them air bubbles out—trapped air can mess with heat distribution and spoil your batch.
- Wipe and Seal: Grab a damp cloth and wipe the jar rims clean. Any gunk there can stop a seal. Pop on the lids, then screw on the bands ‘til they’re “fingertip tight”—snug but not wrestled on.
- Load the Canner: Place jars on the rack inside your pressure canner. Add water as per your canner’s manual—usually a few inches. Don’t overfill.
- Vent It: Secure the lid, then let the canner vent steam for 10 minutes before closin’ the vent or addin’ the weight. This gets air out so the pressure builds right.
- Process Time: Bring it up to pressure—usually 11 pounds for dial-gauge or 10-15 for weighted-gauge, dependin’ on altitude (more on that later). Process pint jars for 25 minutes, quart jars for 30 minutes. Keep that pressure steady, adjustin’ heat as needed.
- Cool Down: Once time’s up, turn off the heat and let the canner cool naturally. Don’t rush it with cold water—that can crack jars or ruin the seal. Wait ‘til the gauge hits zero or no steam escapes.
- Remove and Check: Use the jar lifter to pull jars out. Set ‘em on a towel, spaced apart, for 12-24 hours. Listen for that satisfyin’ “pop” as they seal. Check lids— they should be sucked down, not flexin’ when pressed.
- Store: Take off the bands (prevents rust), wipe jars, and stash in a cool, dark spot. Label with the date—canned apple butter’s good for a year, maybe more, if done right.
Altitude Adjustments—Don’t Skip This!
If you’re livin’ high up, like in the mountains, ya gotta tweak the pressure. Higher altitude means lower boilin’ point, so bump up the pressure:
- Dial-Gauge: 0-2,000 ft = 11 lbs; 2,001-4,000 ft = 12 lbs.
- Weighted-Gauge: 0-1,000 ft = 10 lbs; above 1,000 ft = 15 lbs.
Check your exact spot with a local resource if you ain’t sure. I once canned at a buddy’s cabin up high and didn’t adjust—lucky it sealed, but I ain’t riskin’ that again!
But Wait—Do You Even Need to Pressure Can Apple Butter?
Here’s where it gets spicy. Some kitchen vets (and a few burnt batches of my own) suggest pressure canning ain’t the only way, or even the best way, for apple butter. Since it’s often high-acid from the apples and sometimes lemon juice, a simpler water bath canner might do the trick for just 5 minutes. That’s way shorter, less heat, and less chance of turnin’ your spread into charcoal.
One trick I’ve picked up is usin’ the pressure canner as a water bath canner. Fill it with water to cover jars by an inch, heat to about 180°F, pop in the hot apple butter jars, and boil gently for 5 minutes. No weight, lid loose. Let it sit 5 minutes off heat before pullin’ jars out. It’s a happy medium—safe sealin’ without overdoin’ the cook. I’ve done this when I’m feelin’ lazy, and the flavor stays bright and apple-y.
Why Some Say Skip Pressure Canning
- Over-Processing Risk: Long heat times can darken apple butter or make it taste cooked-down weird.
- Acidity Debate: If your recipe’s got enough acid (like added lemon juice), water bath might be plenty safe with tested guidelines.
- Quality First: Short processin’ keeps that fresh-from-the-orchard vibe.
Safety First: Don’t Mess Around with Botulism
Look, I ain’t tryna scare ya, but canning safety ain’t no joke. If apple butter’s low-acid and you don’t process it right, you risk botulism—a nasty toxin from bacteria that can legit be deadly. Pressure canning zaps that risk by hittin’ high temps, but only if ya follow the steps and times exactly. Water bath works too, but only with a tested recipe that guarantees enough acid.
A few safety tips I’ve learned the hard way:
- Always Use Tested Recipes: Don’t wing it with sugar or spice amounts—they affect acidity.
- Check Seals: If a lid pops up when pressed after coolin’, it didn’t seal. Fridge it and eat soon, or reprocess with a new lid.
- No Shortcuts: Don’t cut processin’ time or skip ventin’ the canner. That’s askin’ for trouble.
- Sterilize Everything: Jars, lids, tools—keep it clean to avoid contamination.
Pickin’ the Right Apples for Your Butter
Not all apples are created equal when makin’ apple butter. I’ve tried a bunch, and mixin’ sweet and tart varieties gives the best flavor—think a combo of Granny Smith for zing and Honeycrisp for sweetness. Firm apples break down nice into that smooth, thick texture ya want. Fuji or Jonagold work great too. Grab fresh, unbruised ones from a market if ya can—I’ve used mushy apples before, and it just don’t cook right.
Best Apples for Apple Butter
| Apple Type | Flavor Profile | Texture After Cooking |
|---|---|---|
| Granny Smith | Tart, tangy | Smooth, holds acidity |
| Honeycrisp | Sweet, crisp | Creamy, soft |
| Fuji | Sweet, mild | Velvety, good base |
| Jonagold | Sweet-tart balance | Nice breakdown, rich |
Makin’ Your Apple Butter Before Canning
If you’re startin’ from scratch, makin’ apple butter is half the fun. Peel and core about 6-8 medium apples, cut ‘em into chunks, and toss in a pot or pressure cooker with 1-2 cups sugar (dependin’ how sweet ya like it), a splash of lemon juice, and spices—2 teaspoons cinnamon, maybe a teaspoon nutmeg. Cook ‘til mushy—pressure cooker cuts it to 10 minutes on high, then natural release. Blend it smooth or leave some chunks if that’s your jam. Simmer again on low for 30-60 minutes ‘til it’s thick as heck. Then you’re ready to can!
What If Somethin’ Goes Wrong?
Even us seasoned canners goof up sometimes. Here’s fixes for common oopsies:
- Jars Don’t Seal: If lids ain’t concave after 24 hours, reprocess with new lids or fridge it and eat within weeks.
- Apple Butter’s Too Thin: Might’ve not cooked it down enough pre-canning. Next time, simmer longer or add pectin for thickness.
- Turns Dark: Heat oxidizes it. Still safe if sealed, but add lemon juice next batch to keep color poppin’. I’ve eaten dark batches—tastes fine, just looks odd.
- Lids Buckle or Leak: Over-tightened bands or not enough headspace. Keep bands fingertip tight and measure that half-inch gap.
How Long Does Canned Apple Butter Last?
If ya did it right, sealed jars of apple butter can sit in a cool, dark pantry for at least a year. I’ve pushed it to 18 months, and it’s still been good, though flavor fades a tad. Once opened, fridge it and use within 2-3 weeks. Got extras? Freeze some in airtight tubs—leave room for expansion. I’ve frozen batches when I overdid my canning spree, and it holds up for months.
Fun Ways to Use Your Apple Butter
Apple butter ain’t just for toast, though that’s a classic. Here’s how we sneak it into meals at our house:
- Pancake or Waffle Toppin’: Skip syrup and smear this on. Sweet and spiced—pure magic.
- Bakin’ Swap: Use it instead of oil or butter in muffins or cakes. Adds moisture and apple vibes.
- Savory Pairin’: Dollop on pork chops or mix into BBQ sauce. Sounds weird, but it’s a game-changer.
- Snack Dip: Mix with cream cheese for a cracker dip. My kids go nuts for this.
Wrappin’ It Up: Should Ya Pressure Can Apple Butter?
So, back to the big question—can you pressure can apple butter? Absolutely, and it’s a safe bet if you’re worried about acidity or just love usin’ your pressure canner. Process pints for 25 minutes, quarts for 30, at the right pressure for your altitude, and you’re golden. But if quality’s your jam, consider a quick 5-minute water bath (or use your canner as one) to keep that fresh apple taste. I’ve done both, and while pressure canning gives me that “no worries” feel, the shorter boil wins for flavor every time.
Canning apple butter, whether by pressure or water bath, is a labor of love. It’s preservin’ a slice of autumn to enjoy when the snow’s flyin’. Follow safety rules, pick good apples, and don’t be afraid to experiment a lil’ with spices. Got questions or a batch gone wonky? Drop a comment—I’m all ears. Let’s keep this canning convo goin’ and swap some apple butter war stories!
The BEST apple butter recipe for canning!
FAQ
Can you pressure canned butter?
What foods do not need to be pressure canned?
How long will homemade canned apple butter last?
How long to process apple butter in a water bath canner?
Process jars 15 minutes, adjusting for altitude. Turn off heat, remove lid, let jars stand 5 minutes. Remove jars and cool 12-24 hours.