Hey there friend! Ever thought you could turn those leftover apple peels and cores into somethin’ downright magical? I’m talkin’ bout homemade apple cider vinegar—a tangy, versatile potion that’s basically free to make packs a health punch, and keeps food waste outta the trash. If you’re wonderin’ “how do you make homemade apple cider vinegar,” stick with me. I’ve been messin’ around with this in my kitchen for a while now, and I’m gonna spill all the deets to get you started.
We’re gonna dive into a super simple way to whip up apple cider vinegar using stuff you’d normally chuck out. It’s easy, it’s cheap, and heck, it feels like a lil’ bit of alchemy right on your countertop. Let’s get to the good stuff first—the step-by-step recipe—then chat about why it’s worth it, how to dodge common screw-ups, and all the cool ways to use your creation.
The Quick ‘n’ Dirty Guide to Making Homemade Apple Cider Vinegar
Alright, let’s not beat around the bush. Here’s how I make my apple cider vinegar from scraps. It’s a two-stage fermenting gig that takes about 4-6 weeks total, but the hands-on time? Barely 10 minutes. Grab your gear and let’s roll.
What You’ll Need:
- Apple scraps (peels, cores, or even bruised bits from about 5-6 apples—don’t use moldy or rotten stuff, tho)
- Sugar (1 tablespoon per cup of water—regular white sugar works best)
- Filtered or non-chlorinated water (about 2 cups for a quart jar; tap water can mess things up if it’s got chlorine)
- A glass jar (quart size is perfect to start; no metal, it reacts weird)
- Coffee filter or fabric scrap (to cover the jar—lets air in, keeps bugs out)
- Rubber band or canning lid ring (to secure the cover)
Step-by-Step Instructions:
- Prep Your Jar: Toss those apple scraps into the glass jar till it’s about ¾ full. Don’t overpack—they need room to bubble up a bit.
- Mix Sugar Water: Stir 2 tablespoons of sugar into 2 cups of filtered water till it mostly dissolves. Pour this over the scraps till they’re fully submerged. If they float, weigh ‘em down with a small glass or fermenting weight. No floaters, or you’ll get moldy nasties.
- Cover It Up: Slap a coffee filter or fabric over the jar top and secure it with a rubber band. This lets the mix breathe while keepin’ fruit flies at bay.
- First Ferment (2 Weeks): Stash the jar in a warm, dark spot—like above the fridge or in a cupboard—for 2 weeks. Give it a lil’ stir every few days if you remember. See some brownish scum on top? Skim it off, no biggie.
- Strain the Scraps: After 2 weeks, strain out the apple bits (toss ‘em or feed ‘em to chickens if you got ‘em). The liquid might smell sweet like cider but not quite vinegary yet.
- Second Ferment (2-4 Weeks): Cover the liquid again with the filter and put it back in that warm, dark spot for another 2-4 weeks. Taste it weekly after the first 2 weeks. When it’s got that sharp, vinegary kick, you’re golden!
- Store It: Once it tastes right, pop a tight lid on and stash it in the fridge. It’ll keep for up to a year, no kiddin’. Smell or taste off? Chuck it and start over.
That’s the bare bones of it! If you’ve got whole apples that ain’t pretty enough to eat—mealy or wrinkly ones—cut out bad spots and use ‘em the same way Now, let’s dig deeper into why this is worth your time and how to make sure it don’t go sideways.
Why Bother Making Your Own Apple Cider Vinegar?
I get it—why mess with fermentin’ stuff when you can grab a bottle at the store? Well, lemme tell ya, there’s a few darn good reasons I keep makin’ my own batch, and I bet you’ll feel the same once you try it.
- It’s Basically Free, Y’all: If you’re already eatin’ apples or makin’ applesauce, you’ve got the scraps. Turnin’ ‘em into vinegar costs nothin’ but a spoonful of sugar and some water. Compare that to fancy raw vinegar at the store—cha-ching!
- Cuts Down on Waste: I hate seein’ good stuff go to the bin. Peels and cores ain’t trash if they can become somethin’ useful. Feels good to be a lil’ more eco-friendly, right?
- Health Boosts Galore: Homemade apple cider vinegar—especially raw like this—has got good bacteria and enzymes for your gut, kinda like yogurt. Some folks swear it helps with blood sugar, cholesterol, even detoxin’ your system. I ain’t a doc, but I feel perkier sippin’ a bit in water each mornin’.
- Control the Flavor: Store-bought can be harsh. When I make it, I decide how tangy or mild it gets by stoppin’ fermentation when I like the taste. Personal touch, baby!
Plus, there’s just somethin’ satisfyin’ about creatin’ from scratch. It’s like bakin’ bread or growin’ herbs—makes ya feel connected to what you use. Now, let’s chat about what’s goin’ on in that jar and how to keep it from turnin’ into a science experiment gone wrong.
What’s Happening in That Jar? The Fermentation Lowdown
If you’re new to fermentin’, it might seem like magic but it’s just nature doin’ its thang. Here’s the deal in plain English so you know what to expect.
When you mix apple scraps with sugar water and let it sit, wild yeasts and bacteria on the apples start chowin’ down on the sugar. First, they turn it into alcohol—kinda like makin’ hard cider. That’s the first 2 weeks, and you might see bubbles or smell somethin’ sweet. Then, after strainin’, those critters keep workin’, turnin’ the alcohol into acetic acid—that’s the stuff that makes vinegar tangy. That’s why the second stage takes a few more weeks.
Sometimes, a funky gelatinous blob forms on top. Don’t freak out! That’s called the “mother”—a colony of good bacteria. It’s a sign you’re doin’ it right. You can leave it in, scoop it out to store in some vinegar for later, or use it to kickstart a new batch faster. I usually let mine float around ‘cause I’m lazy like that.
The smell will shift from sweet to sharp as it goes. If it smells like nail polish remover or straight-up rotten, somethin’s off—more on fixin’ that next. But a vinegary whiff with a hint of apple? That’s your cue it’s ready.
Avoidin’ the Pitfalls: Troubleshootin’ Like a Pro
I’ve had my share of batches go funky, so lemme save you some headaches. Here’s the common messes and how to dodge ‘em or fix ‘em up.
- Moldy Disaster: If your apples ain’t fully submerged, mold can grow on top and ruin everything. Keep ‘em under water with a weight or small jar. If you see fuzzy green or black stuff, toss the batch and start fresh. White scum ain’t mold—just skim it.
- Fruit Fly Invasion: These lil’ buggers love fermentin’ stuff. A loose cover lets ‘em sneak in and lay eggs—gross! Use a tight coffee filter or fabric secured good. If a few get in, strain ‘em out and keep goin’ if it still smells okay. Up to you if you’re squeamish.
- Weird Smells: Should smell like apples at first, then vinegar. If it’s rotten or chemical-like, dump it. Could be bad apples or dirty gear. Always wash your jar and hands before startin’.
- Too Thick or Slimy: Apples got pectin, which can make it goopy. No harm—keep fermentin’ and thin it with water later if needed. I’ve had batches like jelly, still turned out fine.
- Not Enough Scraps: Don’t got enough peels yet? Freeze ‘em till you do. I stick mine in a bag in the freezer after makin’ pie, then whip up vinegar when I’ve got a pile.
One more tip—don’t use metal containers or utensils. Metal reacts with the acid and makes it taste nasty or worse. Stick to glass and wood or plastic tools. And chlorinated water? Nope, it kills the good bugs. Filter it or let tap water sit out overnight to de-chlorinate. I learned that the hard way with a dead batch, ugh.
How Long Does It Take, Really?
Patience is key here, fam. From start to finish, you’re lookin’ at 4 to 6 weeks. First 2 weeks with the scraps, then 2-4 more after strainin’. You can speed it up a tad by addin’ a spoonful of store-bought raw apple cider vinegar as a starter—cuts the second stage to maybe a week or two. I’ve done this when I’m antsy, works like a charm. Taste it weekly after the first month to stop when it’s just right for ya.
If you use honey ‘stead of sugar, expect to wait longer—maybe an extra couple weeks. Honey slows down the bugs munchin’ away. I stick to sugar ‘cause it’s cheap and fast, and honestly, the bugs eat it all up anyway, so it ain’t sweet in the end.
Storin’ Your Liquid Gold
Once it’s got that vinegar bite, cap it tight and pop it in the fridge. Keeps for a whole year, easy. I’ve had batches sit for months and still be good—just give it a sniff before usin’. If you leave it out, it’ll keep fermentin’ and get stronger, which might not be your vibe. Fridge stops that. Don’t got fridge space? It’s okay on the shelf for a bit, but I’d use it up quicker.
Wonderin’ if you can freeze it? I ain’t tried, but reckon you could in a glass jar with room for expansion so it don’t crack. Thaw it slow in the fridge if you go that route.
All the Ways to Use Your Homemade Apple Cider Vinegar
Now that you’ve got this golden elixir, what the heck do ya do with it? Oh, man, the options are endless! I’ve been usin’ mine for all sorts of stuff, and here’s my fave ideas to get you rollin’.
In the Kitchen:
- Salad Dressin’: Mix with olive oil, a dab of mustard, and honey for a zingy dressing. I drizzle it on greens and it’s next-level.
- Swap for Regular Vinegar: Use it in any recipe callin’ for vinegar—marinades, sauces, you name it. Gives a fruity twist.
- Bone Broth Booster: Add a couple spoonfuls when simmerin’ broth. Helps pull nutrients from the bones, plus adds flavor. My chicken stock tastes richer with it.
- Homemade Mayo: Outta lemon juice? Use this instead. Tastes a bit different but still creamy and delish.
- Wash Your Veggies: Mix a splash with water to clean produce. Cuts through dirt and waxy junk better than plain water.
Around the House:
- Natural Cleaner: Infuse it with citrus peels for a few days—makes a killer, nice-smellin’ cleaner for counters and bathrooms. I’ve used it on greasy stoves, works a treat.
- Fruit Fly Trap: Pour some in a bowl with a drop of dish soap, cover with plastic wrap, poke holes. Flies get in, can’t get out. Saved my kitchen last summer!
Personal Care:
- Hair Rinse: Dilute with water and rinse after shampoo. Makes hair shiny and cuts buildup. I do this once a week—game changer.
- Facial Toner: Dab a tiny bit on a cotton ball with water for a cheap toner. Tightens skin, but don’t overdo it if your skin’s sensitive.
- Detox Drink: Mix a teaspoon in a glass of water each mornin’. Some say it boosts immunity and digestion. I ain’t promisin’ miracles, but it wakes me up!
There’s more, too—foot soaks, even usin’ it for minor skin stuff like acne (diluted, always!). I’ve played around with lots of these, and it’s just cool how one jar can do so much.
Takin’ It Further: Experiment and Customize
Once you’ve nailed the basic apple cider vinegar, why stop there? I’ve messed with other fruit scraps, and you can too. Pear peels and cores work awesome—gives a softer, sweeter vinegar. Peach bits are great in summer, tho they ferment a lil’ quicker, so check early. Just follow the same steps, same sugar-to-water ratio.
Got a “mother” from your batch? Save it in a bit of vinegar and toss it into your next jar to speed things up. I’ve shared mine with pals to get ‘em hooked on this DIY life. It’s like passin’ around sourdough starter, but funkier.
If you’re wonderin’ about apple types, don’t stress. Any kind works—sweet, tart, mixed. I’ve used whatever’s in season or on sale, and it always turns out. Organic is best if you’re usin’ peels, ‘cause you don’t want pesticide junk in your brew. I learned that after a weird-tastin’ batch from conventional apples, yuck.
My Personal Journey with This Stuff
Lemme tell ya how I got into this. Couple years back, I went apple pickin’ with the family and came home with a gazillion apples. Made pies, sauce, the works, but had buckets of peels and cores left. Felt wrong dumpin’ ‘em, so I poked around for ideas and stumbled on makin’ vinegar. First batch was a hot mess—mold city ‘cause I didn’t submerge the scraps. But second try? Nailed it. Now, I’ve got jars goin’ every fall, and my friends think I’m some homestead wizard. Nah, just hate wastin’ good stuff!
I’ve had batches where I forgot ‘em for weeks past the mark, and they still turned out—stronger, but usable. One time, I used it to clean my shower and the citrus trick made it smell like a dang orchard. My kid even got into it, usin’ a bit for a science fair project on fermentation. Point is, once you start, you’ll find a million ways to fit it into your life.
Wrappin’ It Up with a Bow
So, there ya have it—everything I know about how to make homemade apple cider vinegar. It’s a simple, frugal trick that turns what’s basically garbage into somethin’ useful and healthy. Start with your apple scraps, a jar, sugar, and water, then let time do the heavy liftin’. Keep it clean, keep it submerged, and don’t sweat the small stuff like a lil’ scum on top. Before ya know it, you’ll have a stash of tangy goodness for cookin’, cleanin’, and more.
Got questions or a batch gone weird? Hit me up in the comments—I’m all ears. And if you try this, lemme know how it goes. Nothin’ beats seein’ folks get as excited as I am about this lil’ kitchen hack. Now, go raid your fruit bowl and get fermentin’! We’re turnin’ trash to treasure, one jar at a time.
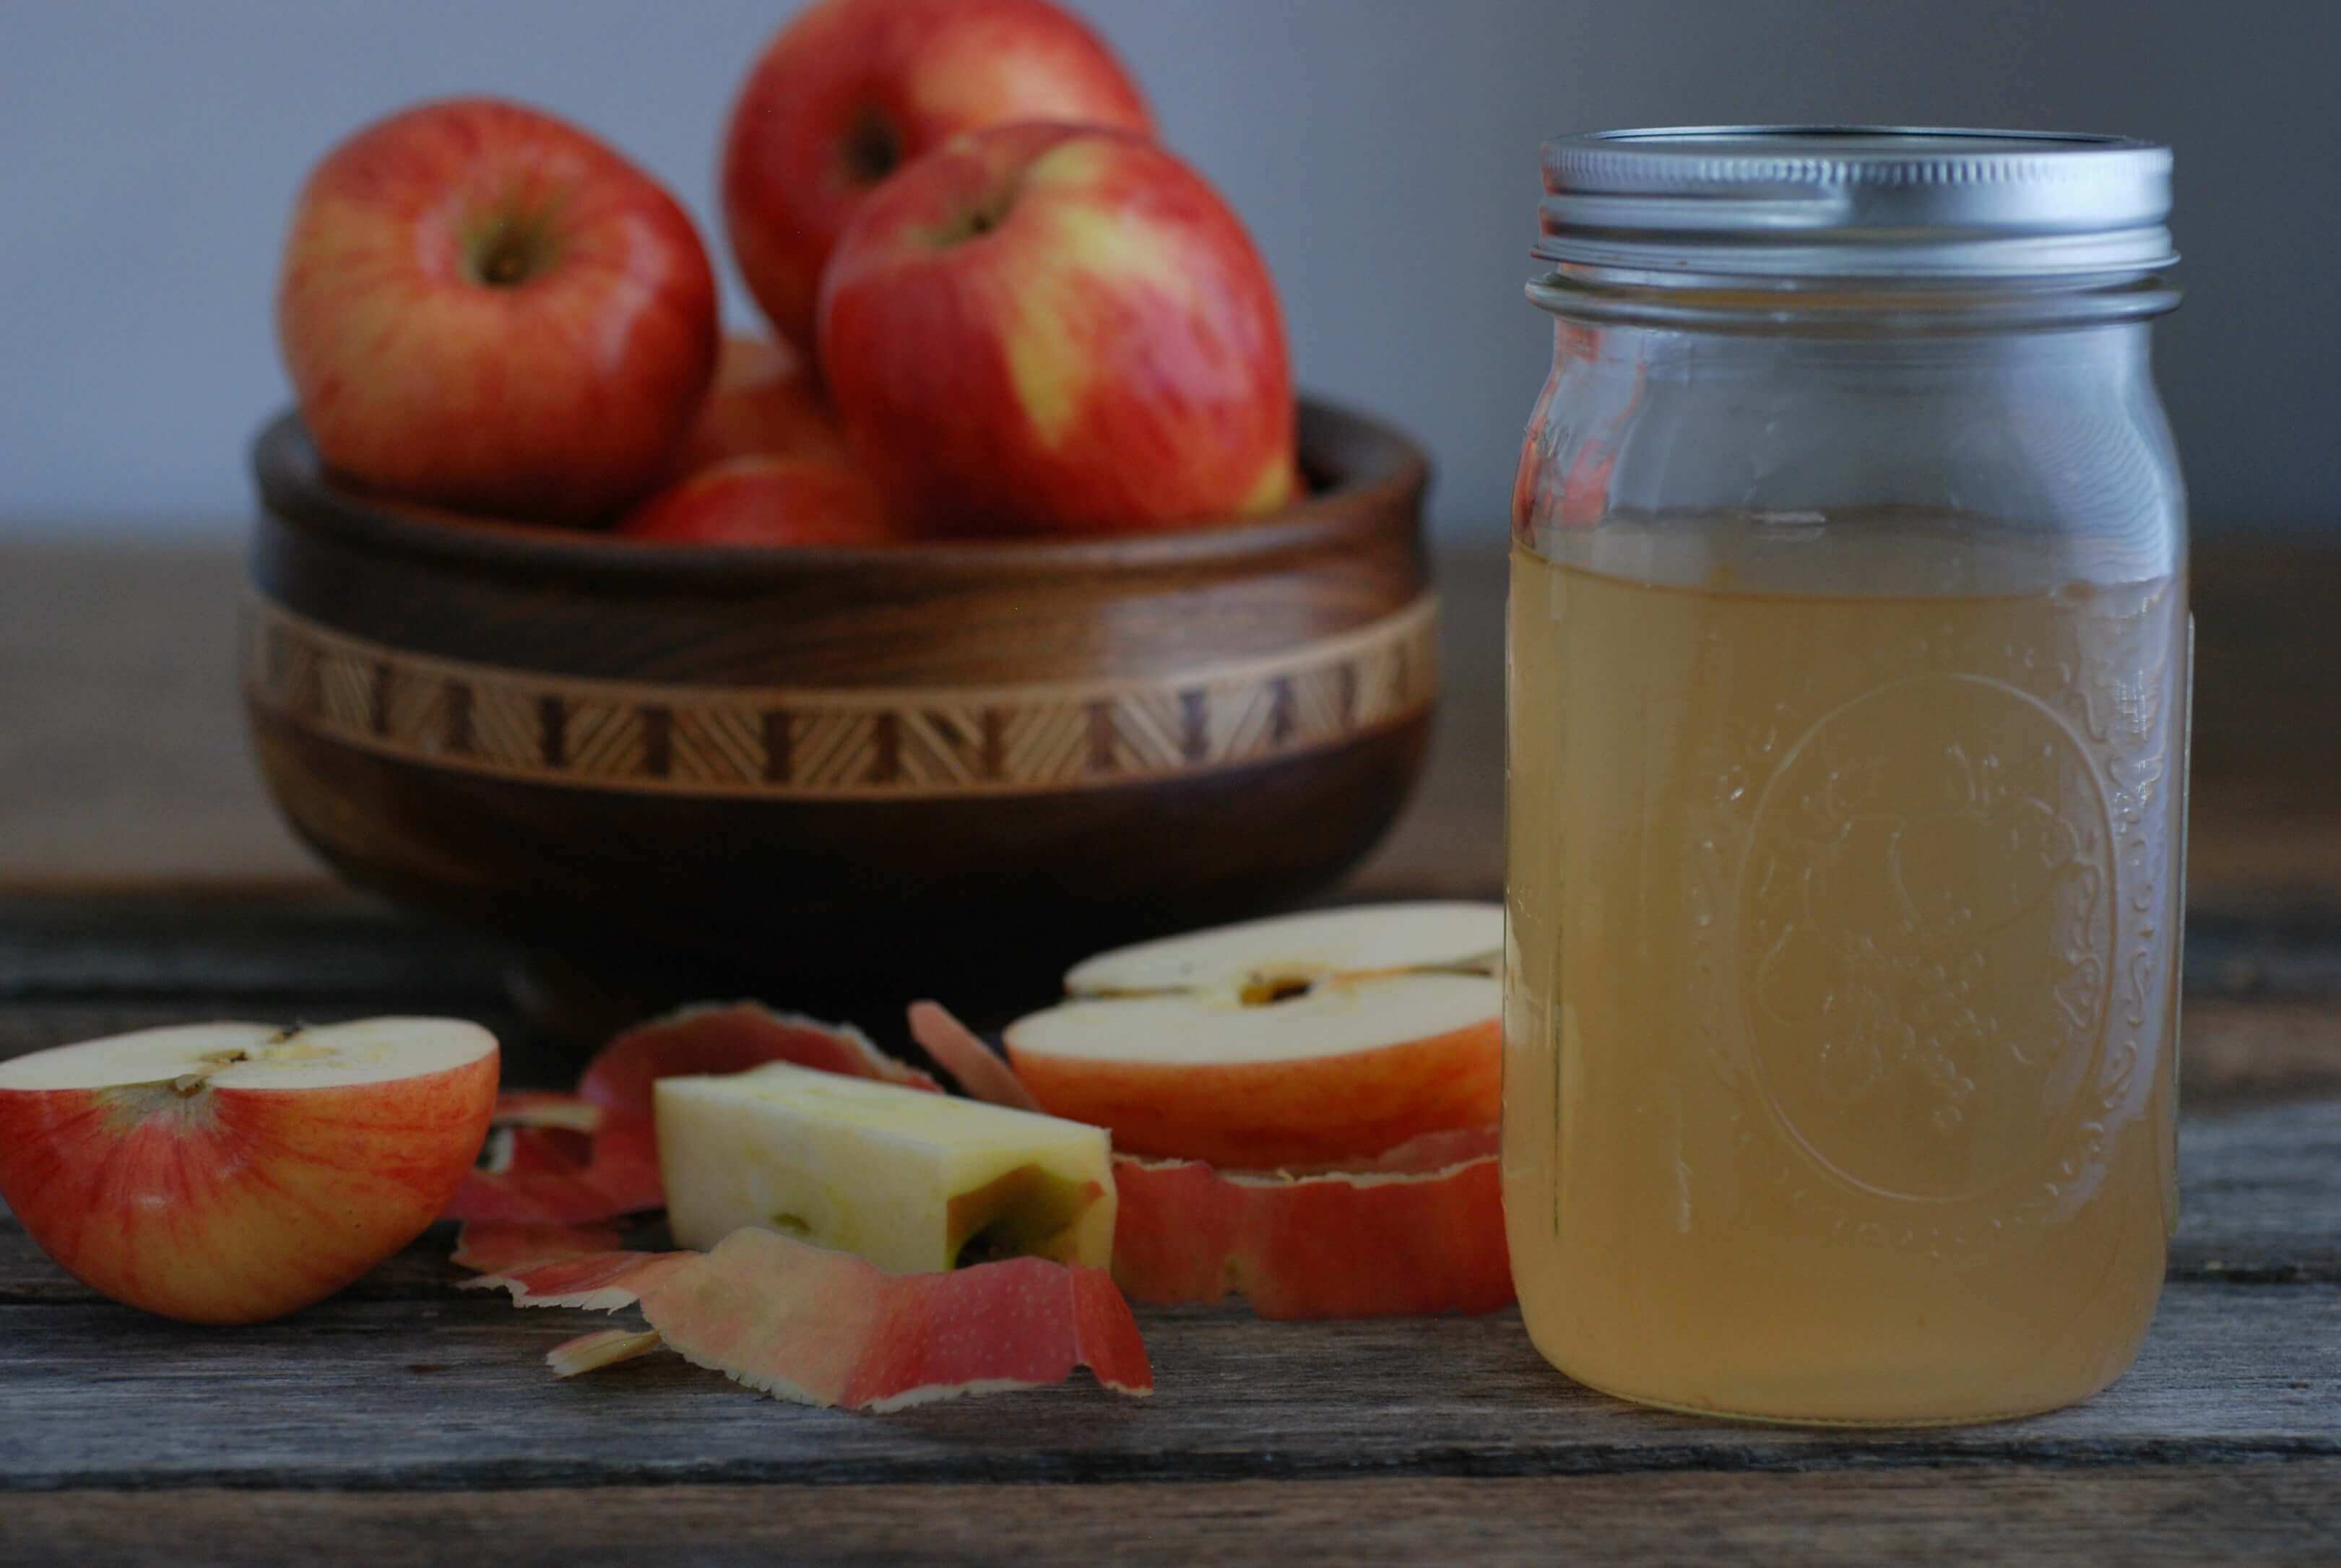
How to Make Homemade Raw Apple Cider Vinegar
FAQ
How can I make apple cider vinegar at home?
What are the ingredients in apple cider vinegar?
How long will homemade apple cider vinegar last?
Does homemade apple cider turn into apple cider vinegar?
The apple juice is transformed into cider (alcoholic fermentation). The cider is transformed into vinegar (acetic acid fermentation).