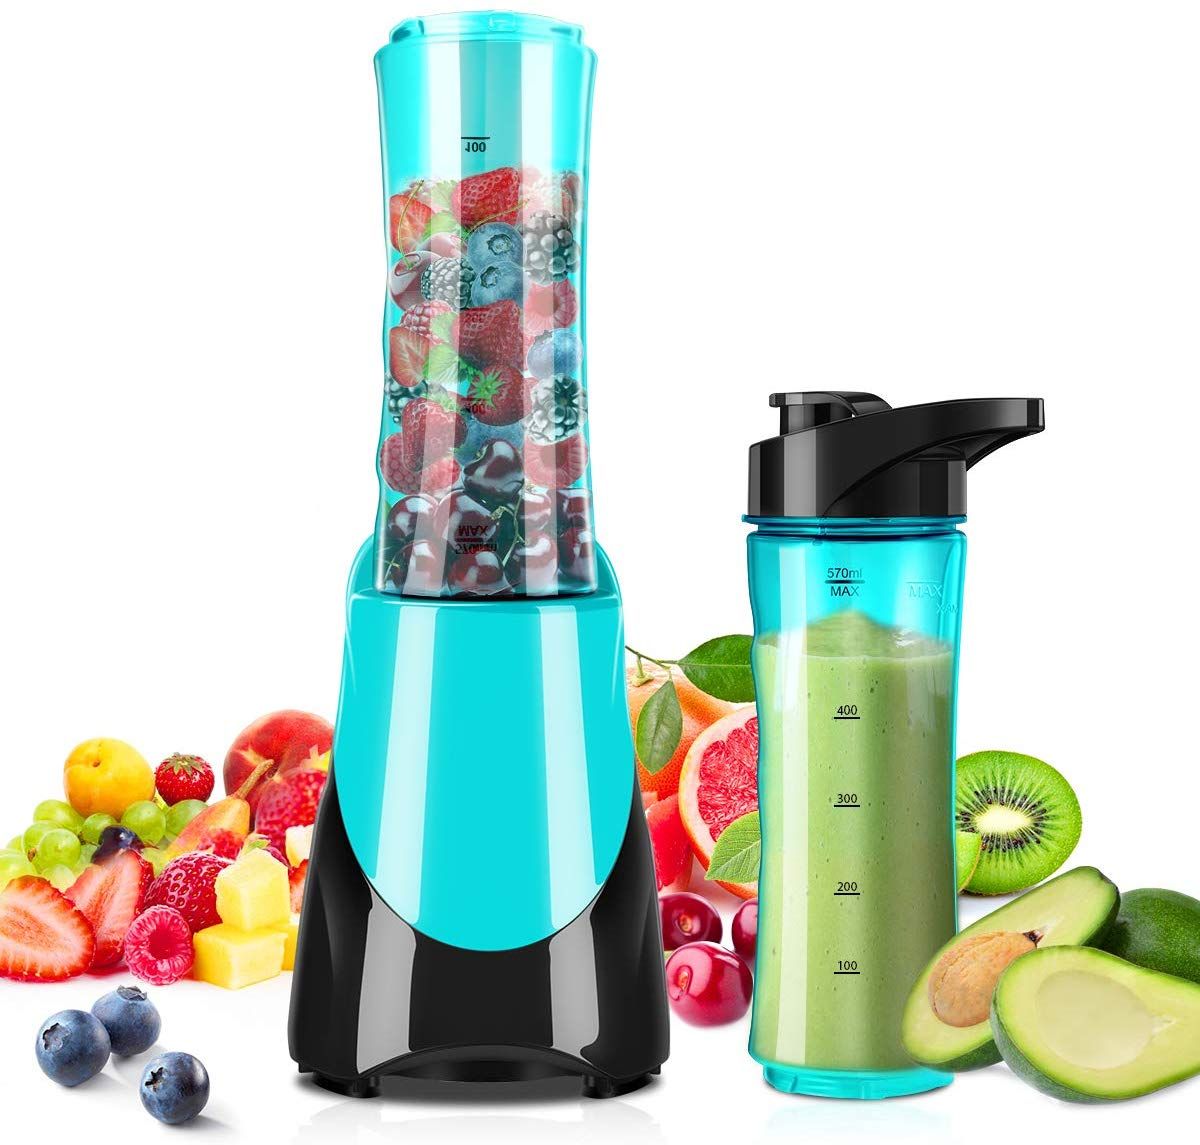
If there is a more refreshing or delicious respite from a hot summer’s day than a cold, fresh fruit smoothie, we have yet to find it. While you could certainly head over to your local smoothie shop to procure your go-to strawberry-banana-coconut milk concoction, you’re probably better off making your smoothies in the comfort of your own home—after all, how else can you be sure that your blend of fruits, vegetables, and yogurt (or whatever other ingredient your heart desires) is truly to your liking?
And while you have likely perfected the smoothie recipe by now, you may have found that you have yet to perfect the smoothie technique. It’s a familiar story—you toss in your ingredients, press the ‘Start’ button, and quickly find that you have to constantly stop your appliance to stir your smoothie around to ensure that everything is properly mixed. (Ack, talk about a dangerous activity to attempt before you’ve had your morning coffee.) You might also find that you consistently have to run several cycles on your blender, which means you end up with some still-frozen chunks and other exceedingly runny components. Not fun.
There is, however, a solution—and it doesn’t involve buying a new blender. In fact, it doesn’t involve buying anything at all. Rather, the fix to the stop-and-stir dilemma is all about the order in which you drop your ingredients into your blender. That’s it.
Ready to have a far (ahem) smoother breakfast-making routine? As the experts from professional blender brand Ninja shared with us, there is a very specific order of ingredient layers that you should follow if you want to get the most out of your blender. Follow these steps and we promise your blender’s blade will stop getting jammed up in your frozen pineapple.
When you’re blending anything in a blender, you should always start by adding liquid ingredients first and end with solid ingredients. Place your yogurt, cold water, milk or juice in your blender, then add your frozen fruit and vegetables. Secure the blender lid on the blender jar.

Follow with creamy components.
Next comes creamy ingredients like yogurt, nut butter, or silken tofu.
Drop in those fresh fruits and veggies.
If you’re going for a green smoothie, this is the time to add the spinach, kale, or other leafy greens. Note that if you are going to use greens, you may want to add a little bit of blending time to ensure that the blades can break down the fibers in these raw veggies.
You can also add your fresh fruits right along with your greens. Put the softer ones in first (like berries, bananas, and peaches) and harder fruits in second so that their weight can push down your other ingredients.
How to Make a Delicious Fruit Smoothie
FAQ
What is the correct way to fill your blender for smoothies?
What is the correct order to put stuff in the blender?
Do you put in ice or fruit first in a blender?
How do you make a smoothie with a blender?
1. Liquids No matter what type of liquid you’re using — dairy or non-dairy milk, juice, coconut water, tea, or coffee — let this be the very first ingredient you add to the blender. Keeping the liquids on the bottom allows the blender to create a “vortex,” easily pulling down the greens, fruit, and veggies that are layered above.
What is the best recipe for a blueberry smoothie?
This will depend a lot on your personal taste, as other fruits can be beaten together like bananas or other purple fruits like blackberries, grapes and plums. To ensure an extra protein intake, you can also include a protein powder.
How do you mix smoothies in a ninja Blender?
In a Ninja blender with the blades at the bottom, start with liquids, then supplement powders, hard fruits and veggies, leafy greens, and lastly soft fruits. However, with a compact Ninja model where the blades are on the top, you should reverse this order. How do you layer smoothies in a Nutribullet blender?
How do you emulsify a smoothie in a blender?
Layering foods properly helps your blender thoroughly emulsify everything so you get a more cohesive, undeniably smooth smoothie. Basically, you want the liquids on the bottom, to create the vortex that pulls solids down into the blade, and the heavy stuff higher up to push everything down. You’re setting up your blender to do its best work.
