This recipe is hands-down my favorite apple pie filling. It’s easy to make, sweet, tart, juicy, and warmly spiced. Don’t even get me started on its versatility. (Spoiler: It’s delicious in pies and on ice cream, pancakes, yogurt, you name it!).
This easy apple pie filling is packed with amazing fall flavors. What’s not to love about tender apple slices, drenched in a simple cinnamon-flavored sauce with a perfect balance of sweetness and tartness?
Although it’s handy to use store-bought pie filling when necessary, I’m glad you’re here to make this homemade apple pie filling, which is 1000x better.
Hey there, fellow baking enthusiasts! Ever found yourself in the middle of a pie-making frenzy, only to realize you’re outta cornstarch? I’ve been there, and let me tell ya, it’s a real bummer when you’re itching to get that apple pie in the oven for a family gathering. But guess what? You don’t need that stuff to make a killer apple pie filling. Today, I’m gonna walk ya through how to make apple pie filling without cornstarch, using stuff you likely already got in your pantry. We’re talking easy, tasty, and totally doable—even if you’re a newbie in the kitchen. So, let’s roll up our sleeves and get to it!
Why Cornstarch Anyway, and Why Skip It?
First off, let’s chat about why cornstarch is the usual go-to for apple pie filling. It’s a champ at thickening things up, turning all that apple juice into a gooey, delicious mess that holds together in your pie. It don’t add much flavor, which is great ‘cause you want those apples and spices to shine. But here’s the deal—sometimes you ain’t got it on hand. Or maybe you’re dodging gluten, or just wanna try something different for a change. Whatever your reason, skipping cornstarch don’t mean you gotta settle for a runny filling. There’s other ways to get that perfect texture, and I’m gonna show ya how.
The Best Alternatives to Cornstarch for Thickening
Before we dive into a full recipe, let’s break down some wicked good substitutes for cornstarch. Each one’s got its own vibe, so you can pick what works for you I’ve messed around with these in my kitchen, and here’s the lowdown Check out this handy table for a quick peek, then I’ll spill more deets below.
| Substitute | How Much to Use | Pros | Cons | Where to Find It |
|---|---|---|---|---|
| Arrowroot Powder | 1 tbsp per 1 tbsp cornstarch | Almost identical to cornstarch, no flavor | Might be harder to find | Health food stores, online |
| Instant Tapioca | 1 tbsp per 1 tbsp cornstarch | Thickens nicely, neutral taste | Can leave little gelatinous bits | Most grocery stores |
| Wheat Flour | 2 tbsp per 1 tbsp cornstarch | Super common, works with dense apples | Takes longer to thicken, less gooey | Your pantry, probably |
| Potato Starch | 1 tbsp per 1 tbsp cornstarch | Similar to cornstarch, easy to use | Not as thick, bit of a cheesy feel | Grocery stores, baking aisle |
| Instant-Mix Flour | 2 tbsp per 1 tbsp cornstarch | Quick to thicken, no raw taste | Not as thick as cornstarch | Grocery stores, baking aisle |
- Arrowroot Powder: This stuff is my top pick if you can snag it. It’s a fine, white powder that thickens just like cornstarch without messing with the flavor. It gives your filling a nice, smooth texture. Only downside? It ain’t always in every store, so you might gotta hunt online or hit up a health food joint.
- Instant Tapioca: Made from cassava root, this is another solid choice. It looks a lot like cornstarch and thickens up real good. Watch out though—it can leave tiny jelly-like bits in your filling. If that bugs ya, grind it down to a powder first with a spice grinder. Still, it’s pretty darned close to the real thing.
- Wheat Flour: Got some all-purpose flour lying around? You’re in luck! It’s not as strong a thickener, so use double the amount compared to cornstarch. It works best with apples that take longer to cook, and it might not give you that super gooey vibe, but it gets the job done. Just mix it well with your sugar or apples to avoid clumps.
- Potato Starch: This one’s kinda like cornstarch in how it looks and feels, but it don’t thicken quite as much. It gives a sorta cheesy consistency, which ain’t bad, just different. Tip: Add a splash of water when mixing it in ‘cause it’s a bit dry.
- Instant-Mix Flour: Sometimes called “gravy flour,” this stuff is pre-cooked, so it thickens fast once your apples start juicing up. No worry about a raw, starchy taste here. It’s a quick fix, though the texture won’t be as thick as with cornstarch.
Pick whichever ya got or feel like trying. I usually go with wheat flour ‘cause it’s always in my cupboard, but I’ve had a blast experimenting with the others too.
My Go-To Recipe for Apple Pie Filling Without Cornstarch
Alrighty, let’s get to the good part—making the actual filling! I’m gonna share a recipe using wheat flour as the thickener since it’s the most common. If you wanna use something else from the list above, just swap it out with the amounts I gave ya. This makes enough for about two 9-inch pies, or roughly 4 cups of filling. Perfect for baking now or stashing away for later.
What You’ll Need
- 8 cups diced, peeled apples (about 6-8 medium apples, depending on size)
- 4 tablespoons lemon juice (to keep ‘em from browning and add a lil zing)
- 1 cup packed brown sugar (for that rich, caramel-y sweetness)
- 2 tablespoons butter (adds a creamy touch, oh yeah)
- 2 teaspoons cinnamon (can’t have apple pie without this warm spice)
- 1 teaspoon nutmeg (for a nutty kick)
- 1/4 teaspoon salt (balances all that sweet stuff)
- 1/2 teaspoon cardamom (optional, if you wanna get fancy with an exotic twist)
- 1 cup water (to bring it all together)
- 4 tablespoons wheat flour (our thickener—double the amount if you’re used to cornstarch)
How to Make It
- Prep Them Apples: Start by peeling and dicing your apples into bite-sized chunks. Toss ‘em in a big bowl with the lemon juice to keep ‘em lookin’ fresh and add a tiny tang. Give it a good mix.
- Mix the Goodies: In a large pan, dump in your brown sugar, butter, cinnamon, nutmeg, salt, and cardamom if you’re using it. Sprinkle in the wheat flour and stir it up with the sugar to avoid any lumps. Then pour in the water.
- Combine and Cook: Add your lemony apples to the pan. Stir everything real good so the apples get coated in that sugary, spiced mix. Turn the heat to medium-high and let it come to a boil. You’ll see it start to bubble and smell amazing.
- Simmer Down Now: Once it’s boiling, lower the heat to a gentle simmer. Let it cook for about 30 minutes, stirring every now and then. The apples will soften, and the mixture will thicken up as the flour does its magic. If it looks too watery, don’t fret—it’ll set more as it cools.
- Cool It Off: Turn off the heat and let the filling cool down in the pan. This is key ‘cause the flavors meld together as it sits. Takes about an hour or two to get to room temp. Don’t rush it by sticking hot filling into a pie crust, or you’ll end up with a soggy mess.
And there ya have it! A gorgeous thick apple pie filling without a speck of cornstarch. Use it right away or store it for later—I’ll get to storage tips in a sec.
Picking the Right Apples for Your Filling
Not all apples are created equal when it comes to pie filling, ya know. Some turn to mush, while others hold up like champs. Here’s my take on the best kinds to use, based on many a pie I’ve baked over the years
- Granny Smith: These are tart and firm, perfect for balancing out the sweetness. They don’t fall apart when cooked, which is a big win.
- Honeycrisp: Sweet with a bit of tart, super crisp and juicy. They add a great texture to your filling.
- Jonagold: A mix of sweet and tart, holds their shape real nice in the oven.
- Braeburn: Another sweet-tart option with a firm bite. Adds a lil complexity to the flavor.
- Fuji: Sweeter than some, crisp and juicy. Might wanna cut back on sugar a tad if you use these.
- Cortland: Slightly tart, tender when baked. They get smooth and yummy in pies.
I often mix a couple types—like Granny Smith with Honeycrisp—to get a blend of flavors and textures. Avoid apples that get grainy or too soft, like Red Delicious sometimes does. And peeling? Up to you. I usually peel ‘em for a smoother filling, but if the skins don’t bug ya, leave ‘em on—they soften up as they cook.
Storing Your Apple Pie Filling Like a Pro
Made a big batch and don’t need it all right now? No problemo! This filling stores like a dream if you do it right. Here’s how I keep mine fresh:
- In the Fridge: Spoon the cooled filling into an airtight container or jar. It’ll stay good for about 4-5 days in the refrigerator. Perfect for using throughout the week on quick desserts.
- In the Freezer: Wanna save it for months? Let the filling cool completely, then pop it into freezer-safe bags or containers. Leave a bit of space at the top—bout an inch—’cause it expands when frozen. Squeeze out as much air as ya can to avoid freezer burn. Label it with the date; it’s best used within 3-6 months. Thaw it overnight in the fridge when you’re ready to use it.
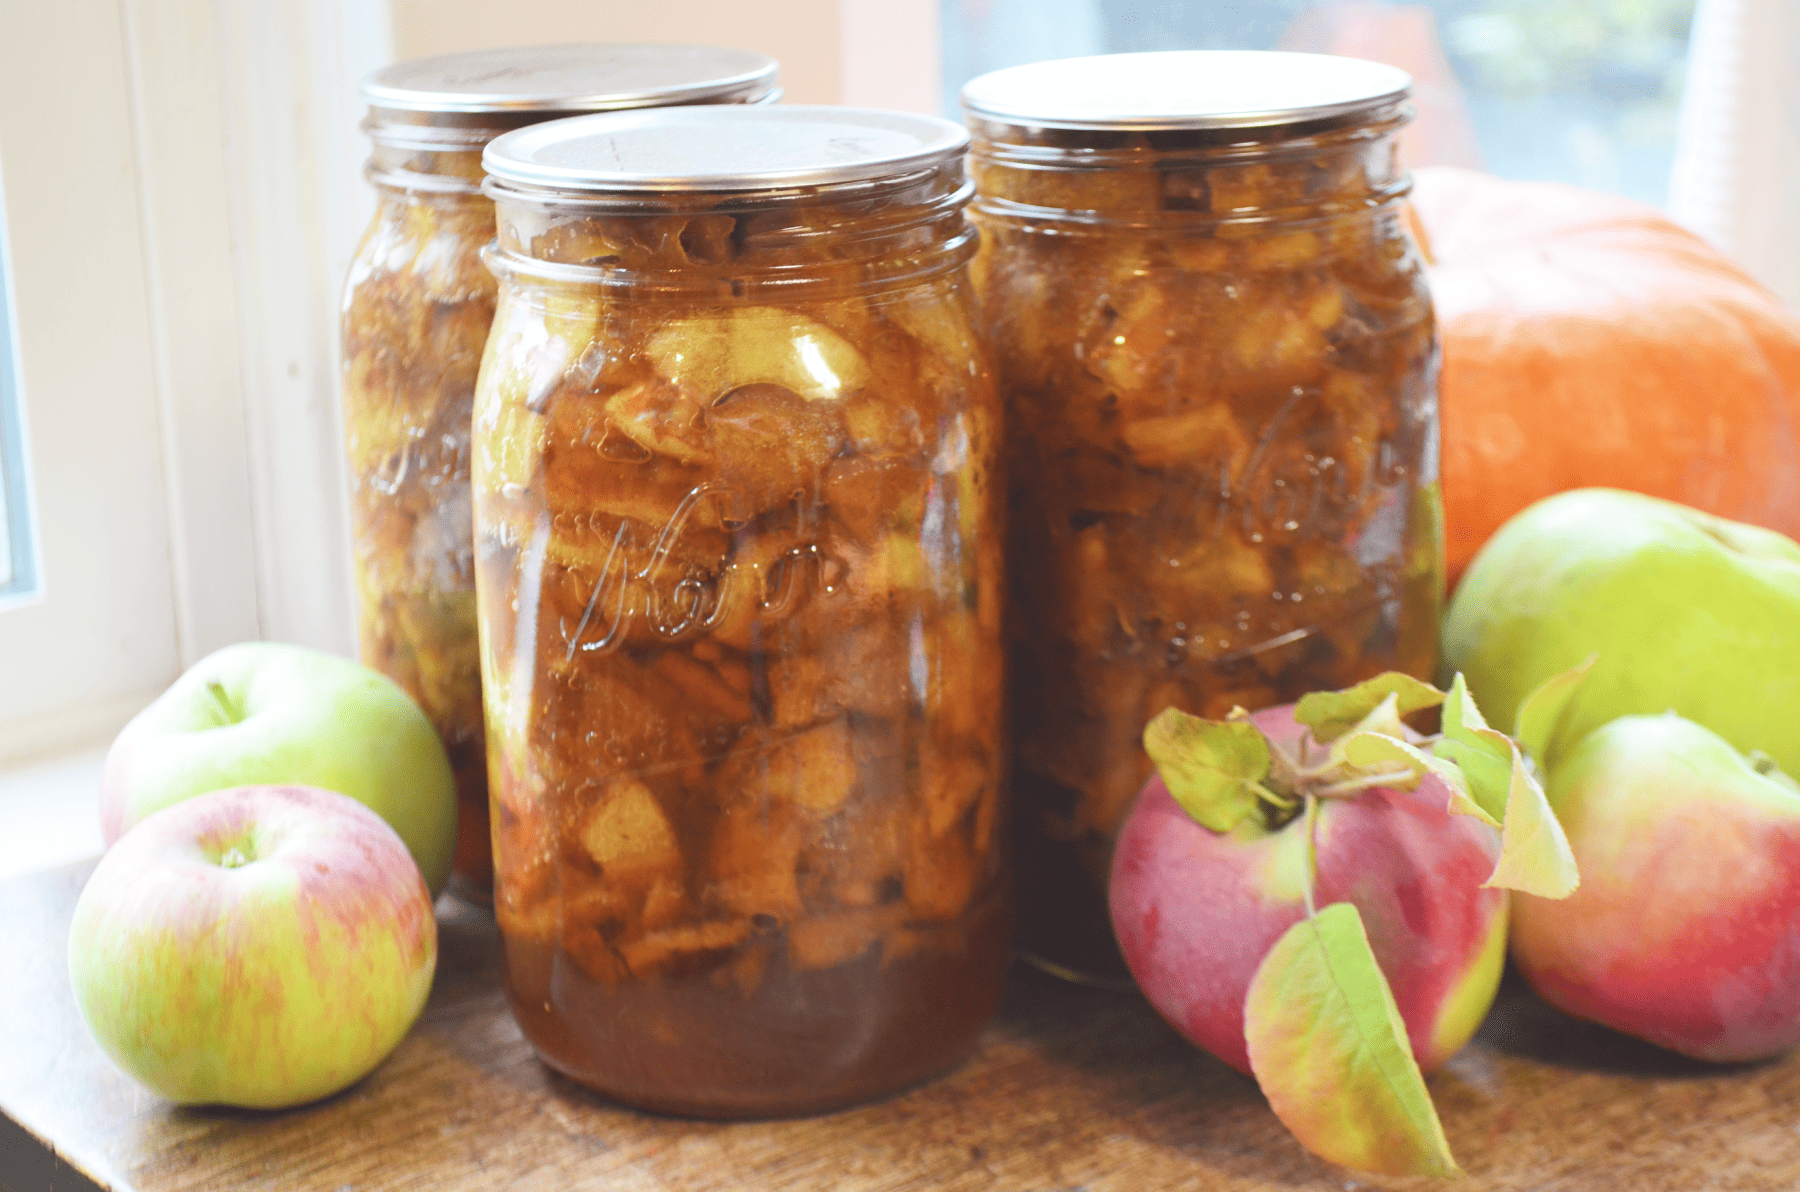
- Freezing in Mason Jars: You can use wide-mouthed mason jars made for freezing, but be careful. Leave at least an inch of headspace, cool the filling fully, and don’t tighten the lid all the way ‘til it’s frozen solid. Otherwise, you might end up with cracked glass. Ain’t nobody got time for that mess.
I love freezing mine in portions—enough for one pie—so I ain’t thawing more than I need. Works like a charm for last-minute baking urges.
Fun Ways to Use Your Apple Pie Filling
Sure, this filling is awesome in a classic pie with a buttery crust, but there’s so many other ways to enjoy it! Here’s some ideas I’ve tried and loved:
- Over Ice Cream: Warm up a scoop of this filling and drizzle it over vanilla ice cream. It’s like a deconstructed pie, and it’s heavenly.
- In Hand Pies: Use some store-bought pastry dough to make little handheld pies or turnovers. Great for snacks or picnics.
- On Pancakes or Waffles: Forget syrup for a mornin’ treat—just top your stack with a dollop of apple pie filling. Add a sprinkle of cinnamon, and you’re golden.
- With Cheesecake: Layer it on top of a creamy cheesecake for a dessert that’ll blow minds at your next get-together.
- Apple Parfaits: Mix it with some yogurt and granola for a quick, fancy-lookin’ breakfast or snack.
- Straight from the Spoon: Don’t judge me, but sometimes I just grab a spoon and dig in. It’s that good!
There ain’t no wrong way to use this stuff. Get creative and see what ya come up with!
Extra Tips and Tricks for a Heckuva Filling
I’ve picked up a few nuggets of wisdom over the years messin’ around with apple pie filling. Here’s some extras to make yours the best dang filling around:
- Keep It Cold for Pies: If you’re baking a pie, make sure your filling is chilled before it goes into the crust. Hot filling melts the butter in the dough, and you end up with a soggy bottom. Let it cool overnight in the fridge if ya can.
- Add a Flavor Twist: Wanna kick it up a notch? Toss in a spoonful of apple butter for a deeper apple taste, or a splash of bourbon for a grown-up vibe. The booze cooks off, leaving just the flavor. Even some lemon zest can brighten things up.
- Adjust the Sweetness: Depending on your apples, you might need more or less sugar. Taste a piece of raw apple—if it’s super sweet, cut back a bit on the brown sugar. If it’s tart, keep it as is or add a touch more.
- Don’t Skimp on Spices: Cinnamon and nutmeg are musts, but don’t be shy to play with others like allspice or a pinch of cloves for a warmer profile. Just don’t overdo it—ya want the apples to still be the star.
Baking should be fun, not stressful, so don’t sweat the small stuff. If your filling ain’t perfect the first time, tweak it next go-round. That’s how ya learn!
Why Homemade Beats Store-Bought Every Time
I gotta say, once you’ve made your own apple pie filling, you ain’t gonna wanna go back to them canned versions. Homemade is fresher, tastier, and you control what goes in it—no weird preservatives or funky stabilizers. Plus, it’s a heckuva lot cheaper when apples are in season, especially if ya got a surplus from apple picking or a generous neighbor’s tree. The smell of it simmering on the stove? Pure fall magic, my friends. It fills the house with cozy vibes that no can can match.
Wrapping It Up with a Lil Encouragement
So there ya have it—a full-on guide to making apple pie filling without cornstarch that’s gonna rock your baking game. Whether you’re using wheat flour, arrowroot, or whatever else ya got, you’re set to whip up something amazing. I’ve shared my fave recipe, tips on apples, storage, and even some wild ways to use it beyond pie. Now it’s your turn to get in the kitchen and make some magic happen. Trust me, once ya try this, you’ll be hooked.
Got a story about your own pie-making adventures or a twist on this recipe? Drop it in the comments below—I’d love to hear how it went for ya! And if you’re feelin’ extra proud, snap a pic of your creation and share it with us. Let’s keep this baking party goin’!
What Is The Best Thickener for Apple Pie Filling?
Cornstarch is the most common thickener, but you can also use all-purpose flour that you almost certainly already have in your kitchen. As it has less starch, you will need to use more of it than with higher-starch thickeners.
How to Make Apple Pie Filling Easy
It’s as easy as apple pie—pun intended. Keep reading to find out how.
- Prepare the apples. First, peel, core, and thinly slice them. (Remember, even slices mean even cooking). Once prepared, place the apple slices in a bowl and sprinkle some lemon juice. Now you can set the bowl aside as you prepare the other ingredients.
- Cook the base. Place a large pan over medium heat. In this pan, melt together the light brown sugar, granulated sugar, butter, vanilla extract, ground cinnamon, a pinch of salt, and ¼ cup of water. Occasionally give the mixture a good stir as it forms into a smooth mixture. The fragrance here is to die for
- Add the apples. Once the base is ready, stir in the apple slices until they’re nicely covered in the mixture. You can now cover the pan and cook—stirring occasionally—for about 4 to 6 minutes. The apples should begin to soften but still hold their shape.
- Thicken the filling. Stir together cornstarch and water (2 tablespoons each) into a small bowl to create a slurry. You can then slowly pour this into the pan while continuously stirring the apple mixture for a few minutes. This gives the mixture a glossy and sauce-like consistency.
- And, you’re done. You can then remove the mixture from the heat and let it cool before gobbling it up.
Make This Apple Pie Filling for your Pies & Tarts
FAQ
How to thicken apple pie filling without cornstarch?
What is a substitute for cornstarch in apple pie filling?
Cornstarch substitutes- Instead of cornstarch, you can also use arrowroot powder, potato starch, and tapioca starch to thicken the filling. All of these options work great as substitutes in this recipe.
Can you make pie filling without cornstarch?
Substitutions for Blueberry Pie without Cornstarch
Good News! Cornstarch isn’t the only thing that can thicken pie. You can also substitute recipes 1:1 with tapioca flour or arrowroot flour.
What can I replace cornstarch with in a pie?
- All-Purpose Flour : Use about 2 tablespoons of flour for every tablespoon of cornstarch.
- Arrowroot Powder : A great 1:1 substitute for cornstarch.
- Potato Starch : Also a 1:1 substitute, it’s excellent for thickening and has a neutral flavor.
- Tapioca Starch (or Tapioca Flour)
- Rice Flour
- Xanthan Gum
- Guar Gum