Learn how to make real homemade caramel apples with my success tips, video tutorial, and carefully explained recipe. This from-scratch caramel is buttery, sweet, and if cooked a little longer, is also excellent for soft caramel candies. This festive fall dessert is always fun to make, decorate, serve, and eat!
Fall is in full swing and what better way to celebrate than with a traditional county fair inspired treat?! Besides with a slice apple pie or pumpkin pie, of course.
I originally published homemade caramel apples in my cookbook Sally’s Candy Addiction. There you’ll also find candy how-to’s and recipes including toffee, candy apples, caramels, fudge, truffles, chocolate bark, taffy, and marshmallows. I decided to slightly adapt my original recipe, adding a little more butter and corn syrup for a softer, silkier caramel coating.
Hey there, fellow sweet-tooth warriors! If you’ve ever tried makin’ caramel apples and ended up with a sticky mess where the caramel just refuses to stick, I feel ya. I’ve been there, staring at a sad apple with a puddle of caramel at the bottom, wondering where I went wrong. Heck, my first batch looked like a crime scene rather than a fall treat! But don’t worry, I’ve cracked the code on how to keep caramel from sliding off apples, and I’m spillin’ all my secrets right here. Spoiler: it’s all about preppin’ those apples right and gettin’ that caramel just perfect. Let’s dive in and save your next batch from disaster!
Why Does Caramel Slide Off Apples Anyway?
Before we get to the fix, let’s chat about why this annoying slip happens in the first place Trust me, knowin’ the “why” makes the “how” way easier to nail. Here’s the deal
- Waxy Apple Skin: Most apples you grab at the store got a thin wax coat on ‘em. It’s there to keep ‘em shiny and fresh, but it’s like a slip-n-slide for caramel. No stick, just slide.
- Moisture Mishaps: If your apple’s got even a tiny bit of water on it from washin’ or just sittin’ around, caramel ain’t gonna grip. It’s like tryin’ to tape somethin’ to a wet surface—good luck!
- Temperature Troubles: Warm apples or super-hot caramel can mess things up. If the apple ain’t cold, the caramel takes forever to set and just drips off. Too hot caramel? It runs before it hardens.
- Wrong Apple Vibes: Some apples, like the softer ones, got smooth skins that don’t give caramel much to hold onto. Texture matters, fam.
So, now that we know the culprits let’s tackle ‘em head-on with some straight-up no-fail tricks.
Step 1: Prep Them Apples Like a Boss
I can’t stress this enough—preparation is everything. If you skimp on this, you’re basically invitin’ the caramel to slide right off. Here’s how I get my apples ready for their sweet coat:
- Wash Off That Wax: Grab a bowl of warm water and toss in a splash of vinegar or lemon juice. Dunk your apples in there and give ‘em a gentle scrub with a cloth or sponge. This cuts through that waxy layer. I’ve even used a quick dip in boiling water for a few seconds—just don’t cook ‘em! Then wipe ‘em down fast with a towel.
- Dry ‘Em Like Your Life Depends On It: After washin’, pat those apples down with a clean kitchen towel. I mean, get every single drop off. Sometimes I let ‘em air dry a bit extra just to be sure. Moisture is the enemy, y’all.
- Pick the Right Apples: Not all apples are created equal for this gig. I always go for firm, tart ones like Granny Smith or Honeycrisp. They got a good bite and a bit of texture for the caramel to cling to. Softer ones like Red Delicious? Nah, they’re too slick and mushy.
- Chill Out, Literally: Pop those cleaned and dried apples in the fridge for at least 30 minutes before dippin’. Cold apples make the caramel set faster, so it don’t got time to slip off. This is a game-changer, trust me.
- Stick It Right: Grab some wooden sticks or skewers and push ‘em into the top of the apple, nice and firm but not too deep. Make sure it’s centered so you got a good grip for dippin’. A wobbly stick can mess up the whole process.
Takin’ the time to do this right saves so much headache later I learned the hard way after skippin’ the chill step once—caramel everywhere but on the apple!
Step 2: Get That Caramel Just Right
Now that your apples are prepped, let’s talk caramel. If it ain’t the right consistency or temp, you’re fightin’ a losin’ battle. Here’s what I do to make sure it sticks like glue:
- Heat It Proper: I use a candy thermometer to get my caramel to that sweet spot—usually between 235°F and 240°F, what they call the soft-ball stage. Too hot, and it’s runny as heck; too cool, and it clumps up weird. Keep stirrin’ so it don’t burn.
- Thin Layers, Baby: Don’t go dunkin’ for a thick coat right away. Dip the apple slow, tilt the pot to cover it all, then twirl it as you pull it out to let extra caramel drip off. I even use a spoon sometimes to smooth out spots. Thick layers just slide under their own weight.
- Set It Quick: After dippin’, put the apple on a baking sheet with parchment paper (don’t use wax paper, it sticks!). Let it sit in a cool, dry spot for a bit. I resist the urge to fridge ‘em right away ‘cause that can cause condensation, which, ya know, brings back the moisture problem.
- Work in Batches: If I’m makin’ a bunch, I do a few at a time. Keeps the caramel at the right warmth and consistency. Cold apples can cool the caramel fast, so reheat it a tad if it starts thickenin’ up too much.
Patience is key here. Rushin’ this part is a recipe for disaster—I’ve tried, and it weren’t pretty.
Common Mistakes I’ve Made (So You Don’t Have To)
Even with all the right moves, there’s stuff that can trip ya up if you ain’t careful. Here’s some dumb things I’ve done over the years, and how to dodge ‘em:
- Skippin’ the Wash: Thought I could just wipe the apples quick and be done. Nope. Wax stayed on, caramel slid off. Always scrub that junk off, no shortcuts.
- Wet Apples, Wet Mess: Didn’t dry ‘em good once, and the caramel just beaded up and fell off. Dryin’ is non-negotiable, folks.
- Caramel Too Hot: I overheated my batch thinkin’ hotter is better. It was like pourin’ liquid gold—ran right off before settin’. Get that thermometer or at least test it if you’re old-school.
- Soft Apples Fail: Used some overripe apples I had lyin’ around. Bad idea. They couldn’t hold the caramel, and it just sagged. Stick to firm, fresh ones.
- No Chill Time: Didn’t cool the apples first, and the caramel took ages to harden. Drip city. Always fridge ‘em beforehand.
- Wrong Setup: Used wax paper once instead of parchment. Big oof. Caramel stuck to the paper, not the apple. Parchment or silicone mats only, y’all.
Learnin’ from my flubs has made me a caramel apple wizard now. Avoid these, and you’re golden—pun intended!
Bonus Tricks to Lock That Caramel In
Wanna take it up a notch? I got some extra hacks that not only help the caramel stay put but also make your apples look and taste next-level:
- Add Toppings for Grip: Right after dippin’, roll that apple in chopped nuts, crushed cookies, or sprinkles. It ain’t just for flavor—it gives the caramel somethin’ to anchor to. I love pecans or mini chocolate chips for this. Press ‘em in gentle while it’s still sticky.
- Double Dip with Chocolate: If you’re fancy like me sometimes, dip in caramel, let it set a bit, then drizzle or dip again in melted chocolate. It hardens quick and holds everything together. Plus, it looks gourmet as heck.
- Mini Bites for Less Stress: Instead of whole apples, use a melon baller to make little apple balls. Stick toothpicks in, dip in caramel, and roll in toppings. Less surface area means less slippin’, and they’re cute for parties.
These lil’ extras can turn a basic treat into somethin’ people rave about. I’ve had folks beg for my mini caramel bites at fall get-togethers!
Creative Twists If Caramel Ain’t Your Jam
Sometimes, even with all the tricks, you might wanna switch it up or dodge the slide issue altogether. Here’s some fun alternatives I’ve played with:
- Caramel Dip Instead: Skip the coating and make a warm caramel dip. Slice up apples and dunk ‘em. No worry about slippin’, and everyone can customize their bites. I mix butter, brown sugar, and a bit of cream for mine—easy peasy.
- Chocolate All the Way: Melt some chocolate and dip cold apples in that instead. It sets faster than caramel and sticks better in humid weather. Add sprinkles or sea salt for flair.
- Peanut Butter Power: Mix peanut butter with a touch of honey and spread it on apple slices or whole apples. It’s sticky and yummy, no heat needed. Roll in granola for crunch.
- Cinnamon Sugar Vibes: Brush apples with a lil’ melted butter, then roll in a cinnamon-sugar mix. It’s a caramel-free option that still screams fall.
Experimentin’ is half the fun. I’ve found some of my best treats by messin’ around with what’s in the pantry!
Why Caramel Apples Are Worth the Effort
Let’s be real—makin’ caramel apples can feel like a chore sometimes, especially if you’ve had flops like me. But there’s somethin’ magical about bitin’ into that crisp, tart apple with a sweet, sticky caramel layer. It’s pure nostalgia, takin’ me back to fall fairs and Halloween nights as a kid. Plus, when you get it right, they’re a showstopper for any gatherin’. I’ve gifted ‘em to neighbors wrapped in cute bags, and they’re always a hit.
The trick is not givin’ up if your first try ain’t perfect. Keep tweakn’ your method—maybe chill longer, adjust the caramel heat, or try a different apple type. I’ve had batches where half worked and half didn’t, but each mess-up taught me somethin’. Now, I can whip up a dozen without a single slip.
A Quick Recipe to Get Ya Started
If you’re new to this or just want a basic guide, here’s how I make my go-to caramel apples. It’s simple, and with the tips above, you’re set for success.
Ingredients:
- 6-8 firm apples (Granny Smith or Honeycrisp are my faves)
- 1 cup sugar
- ½ cup heavy cream
- 2 tablespoons butter
- A pinch of salt
- Optional toppings: nuts, chocolate chips, sprinkles
Steps:
- Wash apples in warm water with vinegar to ditch the wax. Dry ‘em super well.
- Stick a wooden skewer into each apple top, makin’ sure it’s secure.
- Chill apples in the fridge for 30 mins or more.
- In a pot, melt sugar over medium heat, stirrin’ till it’s amber. Add butter, cream, and salt slow—watch for bubbles!
- Cook till it hits around 235-240°F on a thermometer. Take off heat and let it cool a tad.
- Dip each cold apple, twirl to coat, and let excess drip off.
- Roll in toppings if you want, then set on parchment paper to harden.
- Let ‘em sit at room temp for 10-15 mins before storin’ in the fridge.
This recipe’s been my ride-or-die for small batches. Double it if you got a crowd to impress!
Keepin’ and Givin’ Caramel Apples
Once you’ve made these beauties, you don’t wanna mess ‘em up storin’ ‘em wrong. I wrap each one in plastic wrap or pop ‘em in an airtight container in the fridge. They stay fresh for about a week, tastin’ just as good as day one. Let ‘em sit out a bit before eatin’ so the caramel ain’t rock hard.
They also make awesome gifts. I’ve used cute cellophane bags tied with ribbon for teacher gifts or neighbor treats. Somethin’ about a homemade caramel apple just feels special, ya know?
Wrappin’ Up with Some Fall Feels
So, there ya have it—everything I’ve learned about how to keep caramel from sliding off apples. It all comes down to gettin’ rid of that wax, dryin’ ‘em good, chillin’ ‘em down, and nailin’ that caramel temp. Toss in some toppings for extra hold, and you’re set. I’ve turned my kitchen fails into wins with these steps, and I’m bettin’ you will too.
Caramel apples are more than just a snack to me—they’re a lil’ piece of autumn magic. Whether you’re makin’ ‘em for a Halloween bash, a cozy family night, or just ‘cause you’re cravin’ somethin’ sweet, don’t let a lil’ slip stop ya. Get in there, mess up a bit if you gotta, and keep tryin’. I wanna hear how it goes—drop a comment with your best caramel apple hack or your funniest flop. Let’s swap stories and make this fall the sweetest yet!

Real Homemade Caramel Apples
Apple cupcakes with salted caramel frosting are certainly a favorite, but today we’re making real homemade caramel apples with caramel cooked completely from scratch on the stove. No store-bought caramel candies or coatings because you can truly taste the difference between that and homemade. If cooked a little longer, this real caramel can be made into soft caramel candies like these soft caramel candies. Today I’m sharing the recipe, all my recommended tools, tips for success, and showing you a video tutorial so you can see just how easy it is to make real caramel for homemade caramel apples.
How to Make Homemade Caramel Apples
Now that you have your ingredients, let’s make caramel apples. First, rinse and dry the apples. Apples have a waxy coating that will prevent the caramel from sticking, so it’s important to wash and dry it off. Make sure the apples are cold, which helps prevent the caramel from slipping off.
Pull out the apple’s stem and insert a caramel apple stick.
For the caramel, cook the first 5 ingredients on the stove until the candy reaches 235°F (113°C), known as the Soft Ball Stage in candy cooking terms. Reaching 235°F (113°C) should take about 15 – 20 minutes, though don’t use the time as your stopping point because it really depends on your stove—electric stoves may take a little longer than gas stoves. But you won’t mind waiting because this caramel smells INCREDIBLE as it cooks. Some readers have been cooking to 240°F (116°C) and saying the caramel sticks much better to the apples that way. Stick with anywhere between 235°F – 240°F.
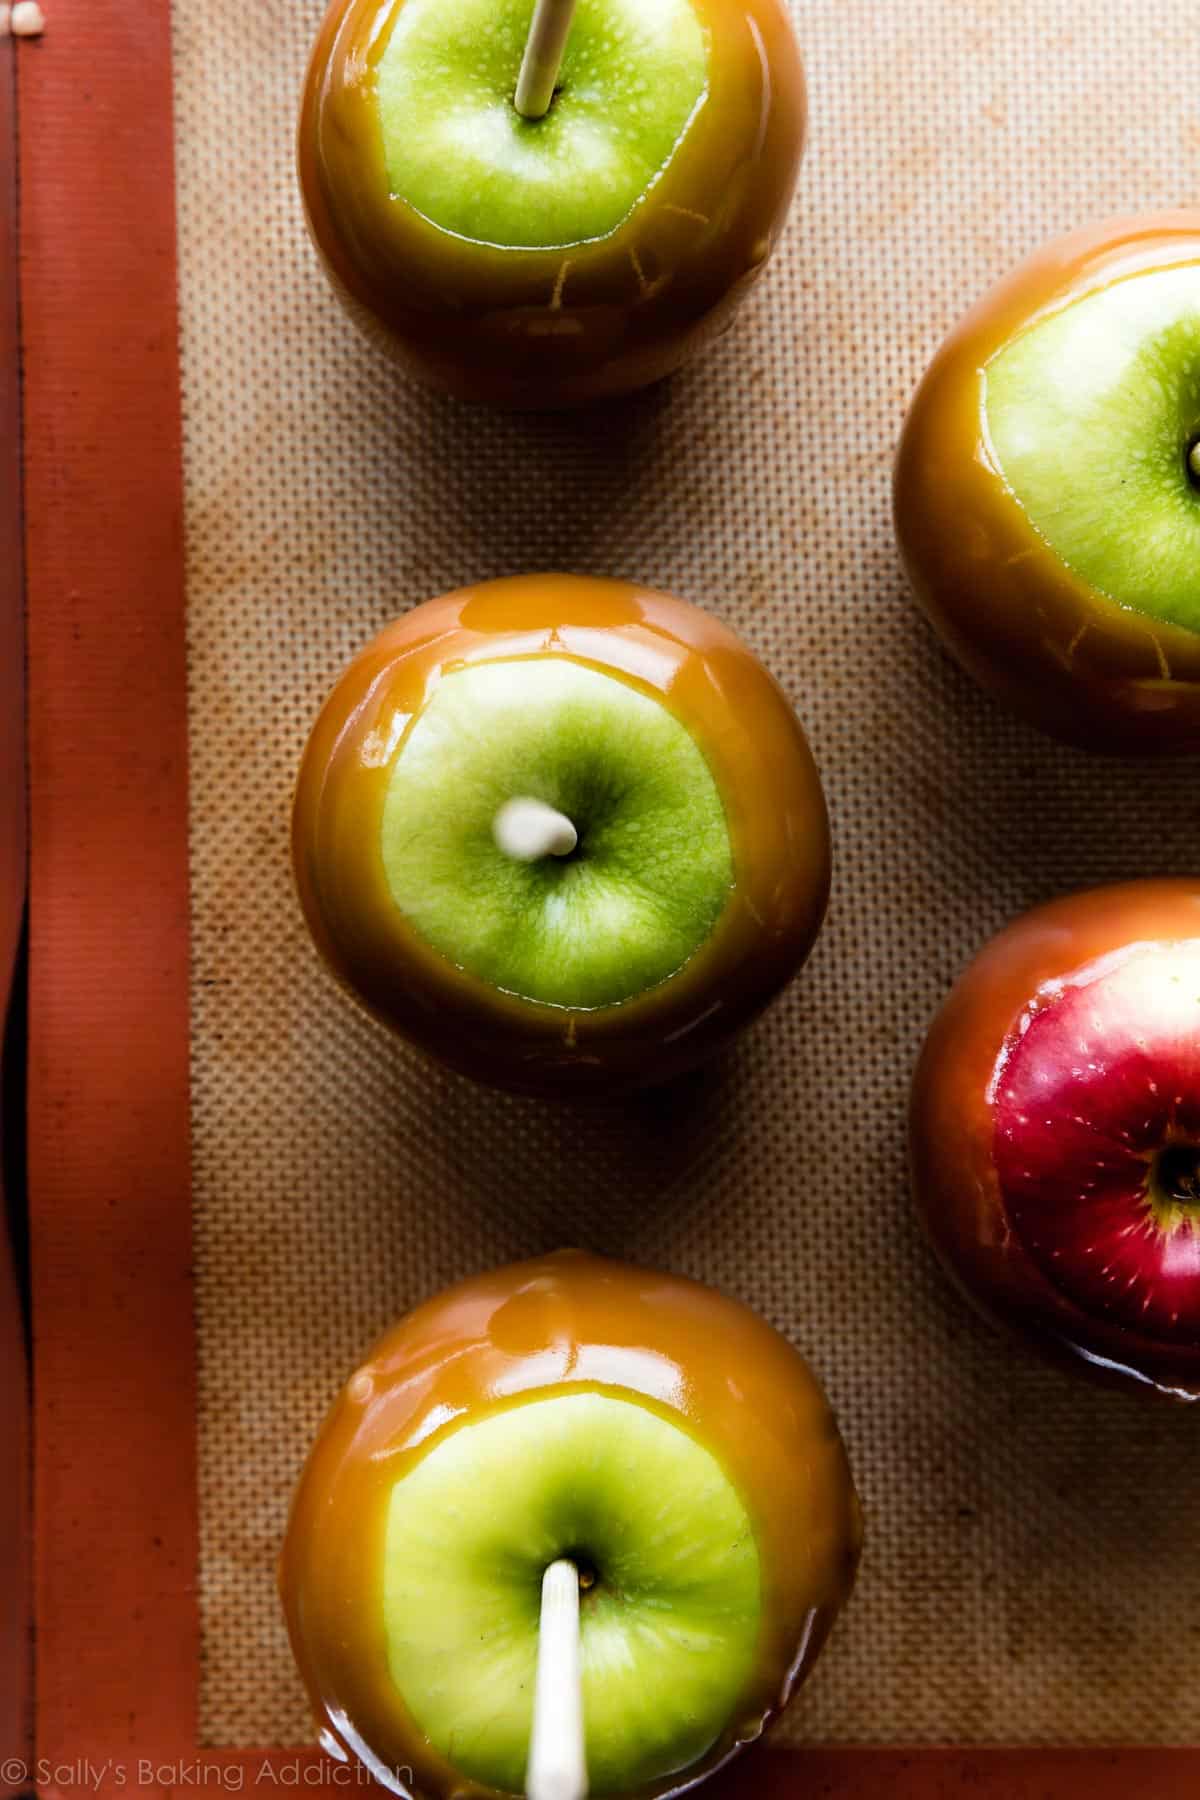
Remove caramel from heat, then stir in the vanilla. Allow caramel to cool for a few minutes, then dip your apples. Let the excess caramel drip off, then place on a nonstick surface such as a silicone baking mat lined baking sheet.
Enjoy immediately or let the caramel set, about 45 minutes. Once set, you can wrap the caramel apples in cellophane for travel or gifting. Stand the apples in these adorable cellophane bags, then wrap the cellophane around the stick with a cute ribbon. Sweetest homemade gift around.
Here’s How to Keep the Caramel from Sliding Off Your Apples | Foody US
FAQ
Why is my caramel falling off my apples?
Your caramel is likely falling off because you haven’t removed the wax coating from the apples, the caramel wasn’t cooled to the right temperature, or the apples were not completely dry before dipping. To fix this, try washing the apples in hot water to remove the wax, thoroughly drying them, and chilling them in the refrigerator before dipping. Also, let the caramel cool to the proper temperature (around 190 degrees F) before dipping to ensure it sets correctly.
How to make apples stick to caramel?
Remove any wax from apples to help caramel stick better: Bring a large saucepan of water to a boil. Dip apples in boiling water for a few seconds, using a slotted spoon, then dry with paper towels to remove any wax from the peels. Set apples aside to cool completely, about 30 minutes.
Why isn’t my caramel sticking to my apple slices?
Caramel won’t stick to apples because of the waxy coating on the fruit or a temperature issue, either with the caramel being too hot or the apples being too warm. To fix this, thoroughly wash the apples, often with a hot water or vinegar bath, to remove wax, then dry them completely. Chilling the apples in the refrigerator before dipping ensures the caramel sets properly upon contact.
What are some common mistakes when caramelizing apples?
In fact, most aren’t. Too rich, and the caramel will slide off the apples as if they’re coated in Teflon; too lean, and you’ll chip a tooth. Cook it too briefly, and you’ll wind up with caramel sauce; cook it too long, and you’ve got homemade Milk Duds.